9 Timeline Module Layouts For Divi 5 (Free Download!)
A company history, project roadmap, or service process is easier to follow when each milestone has a clear place on the page. This free pack gives you 9 Timeline Module designs for Divi 5, ready to import and customize with your own content.
Some of the designs may look familiar. Our earlier 11 Timeline Designs For Divi 5 collection was created before Divi had a native Timeline Module. This pack revisits those designs, with nine versions built using the Timeline Module. You get familiar starting points with a structure designed specifically for timelines.
Below, you can preview the collection, download the files, and learn how to replace the content and adapt a design to your site.
Preview
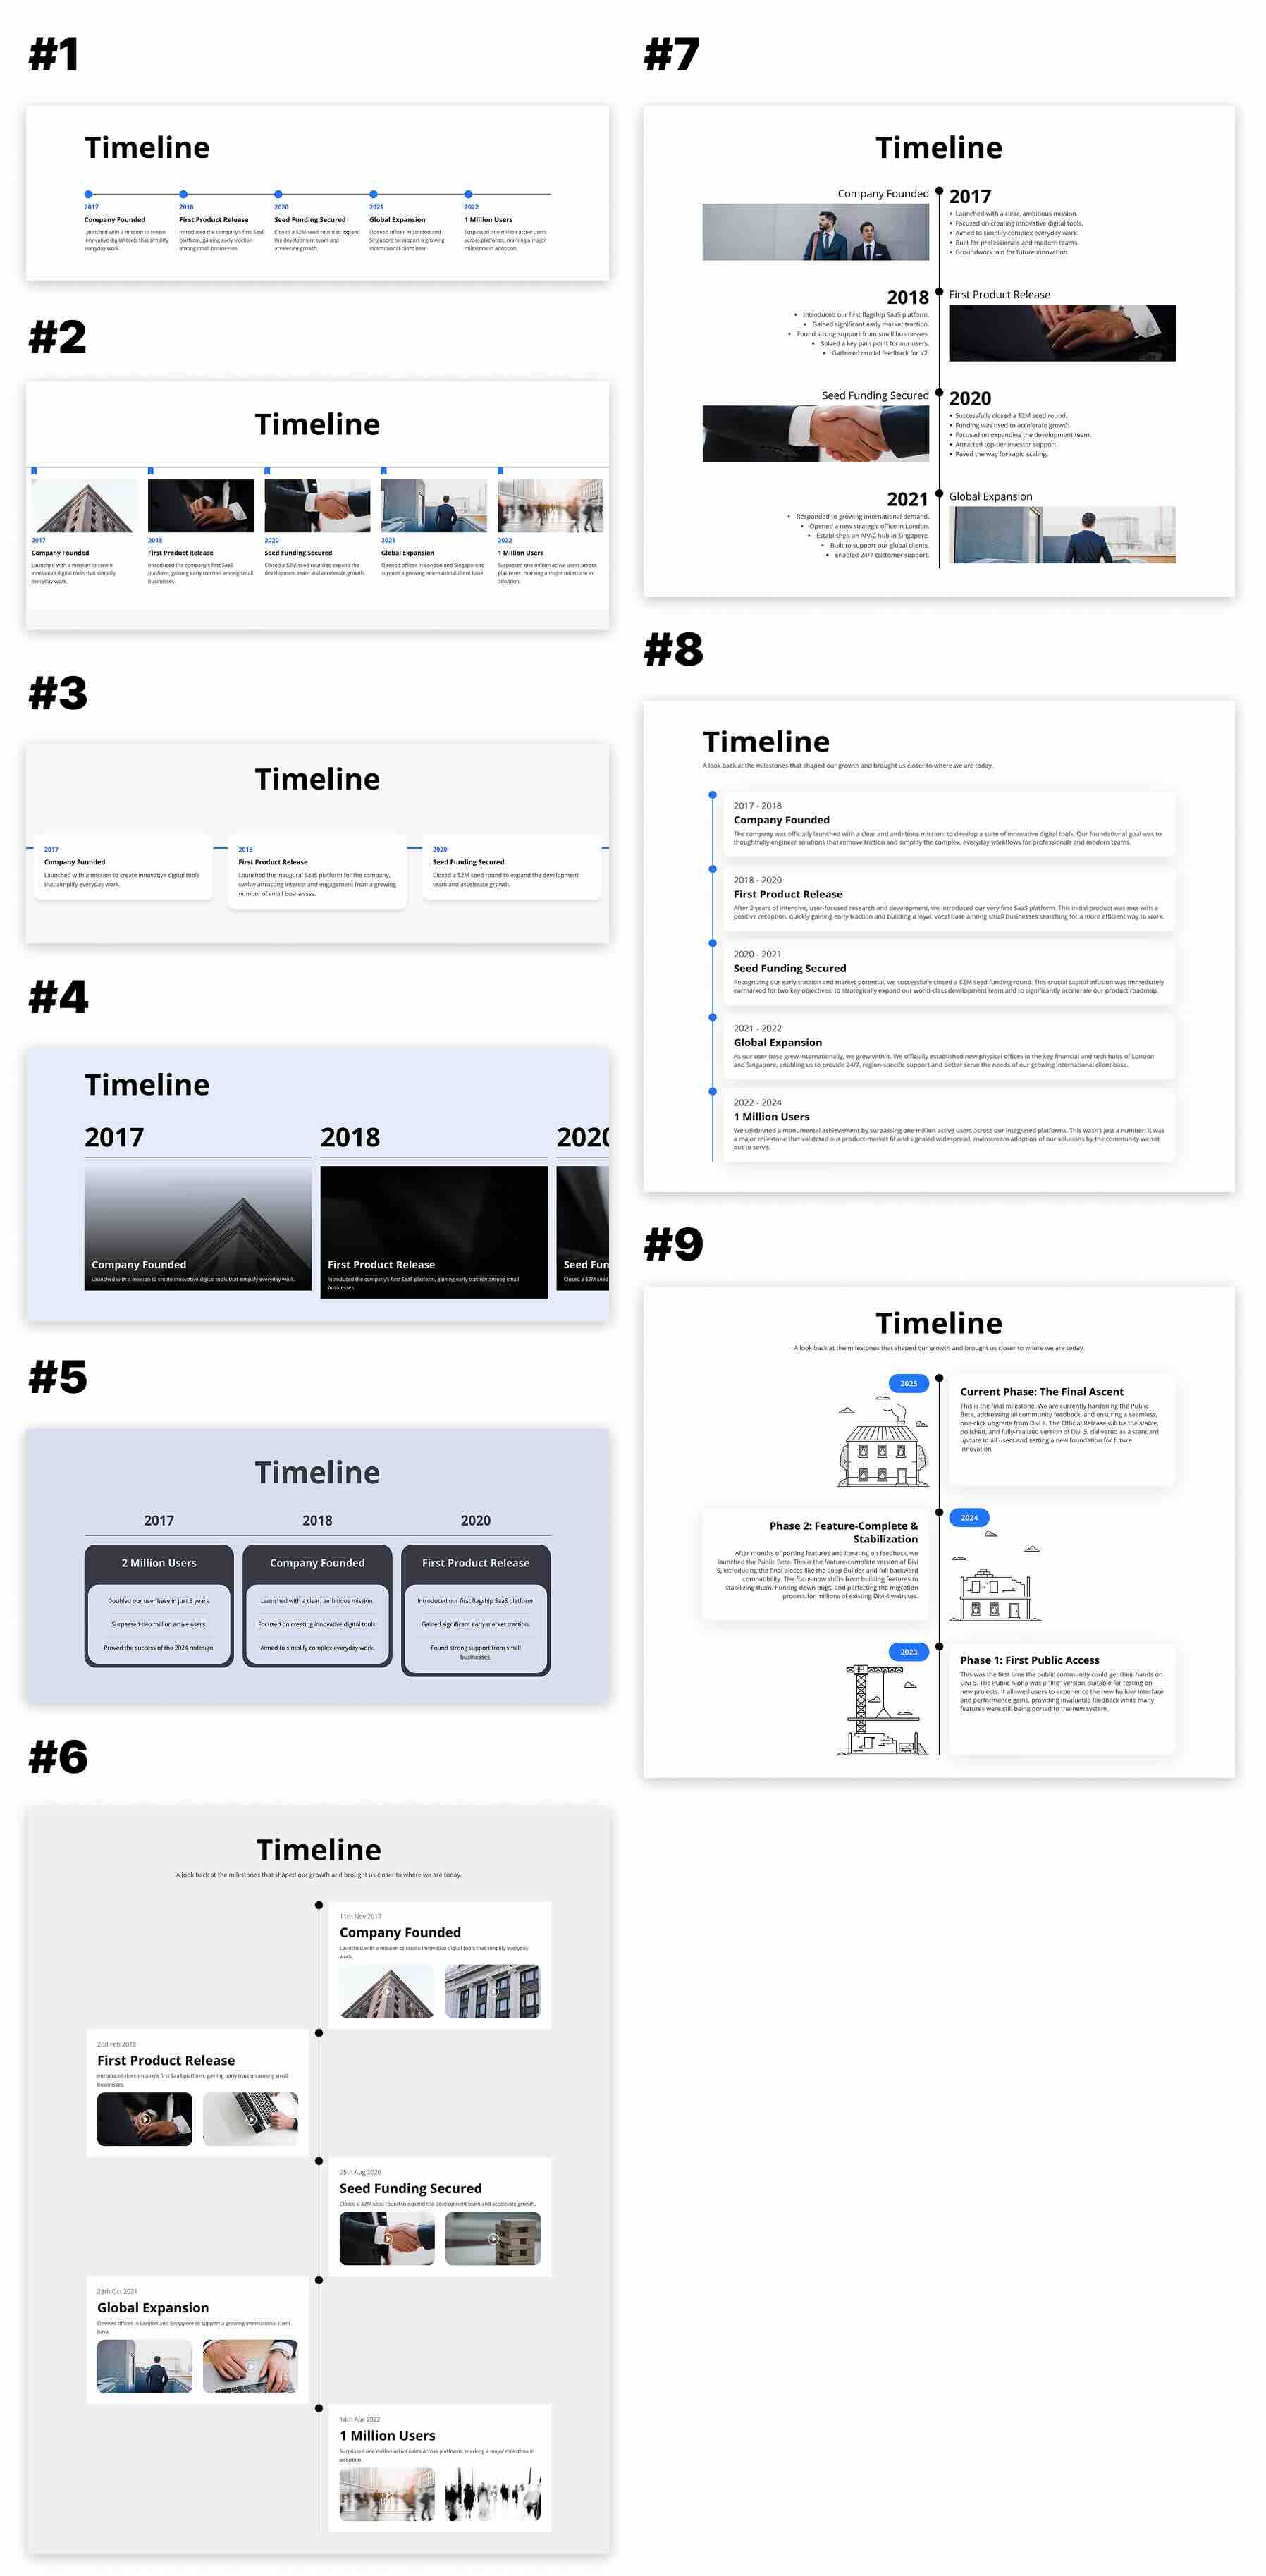
Here’s a look at the nine Timeline Module designs included in the pack. Choose the one that best suits your content, then make it your own. The download is further down the post.
Download 9 Timeline Module Designs For Divi 5
Download the free pack below and unzip it on your computer. You’ll use the included JSON files to bring the designs into your Divi Library.
Make sure your site is running a current version of Divi 5 with the native Timeline Module available before importing.

What’s Included
The pack contains nine timeline designs built with Divi 5’s native Timeline Module. Each gives you a starting layout that you can adapt to your own milestones, imagery, and branding.
Use them for company histories, project phases, product releases, onboarding steps, or other content that benefits from a clear sequence. Replace the sample content, adjust the styling, and save the versions you want to reuse.
Familiar Designs, Built With The Timeline Module
The original collection assembled timelines from general-purpose Divi elements. These versions use a Timeline Module and its Timeline Item Modules to organize the sequence. That gives you timeline-specific direction and offset controls, while individual items can still contain nested modules for additional content.
The visual starting points are familiar, but the editing structure has changed. The steps below follow the new module-based versions. You can still download the original timeline collection if you want to explore how the earlier layouts were assembled.
How To Use The Timeline Module Designs
Keep the unzipped download folder handy. We’ll import a design, place it on a page, and customize its content and appearance.
1. Import The Designs Into The Divi Library
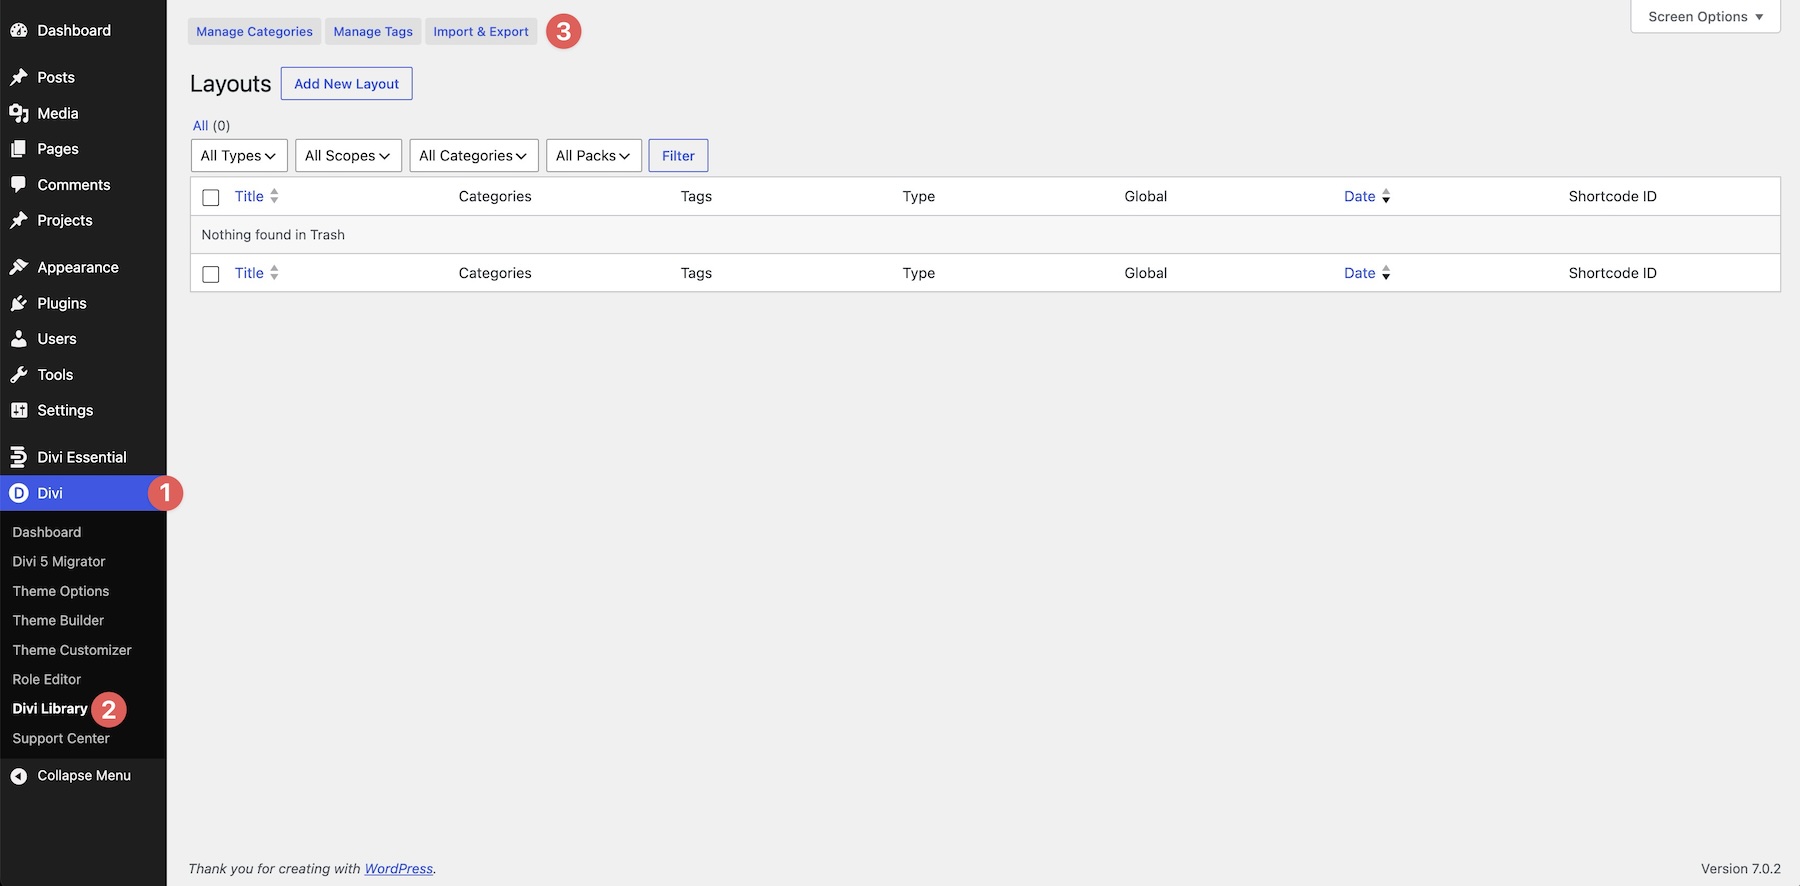
In your WordPress dashboard, go to Divi > Divi Library and click Import & Export.
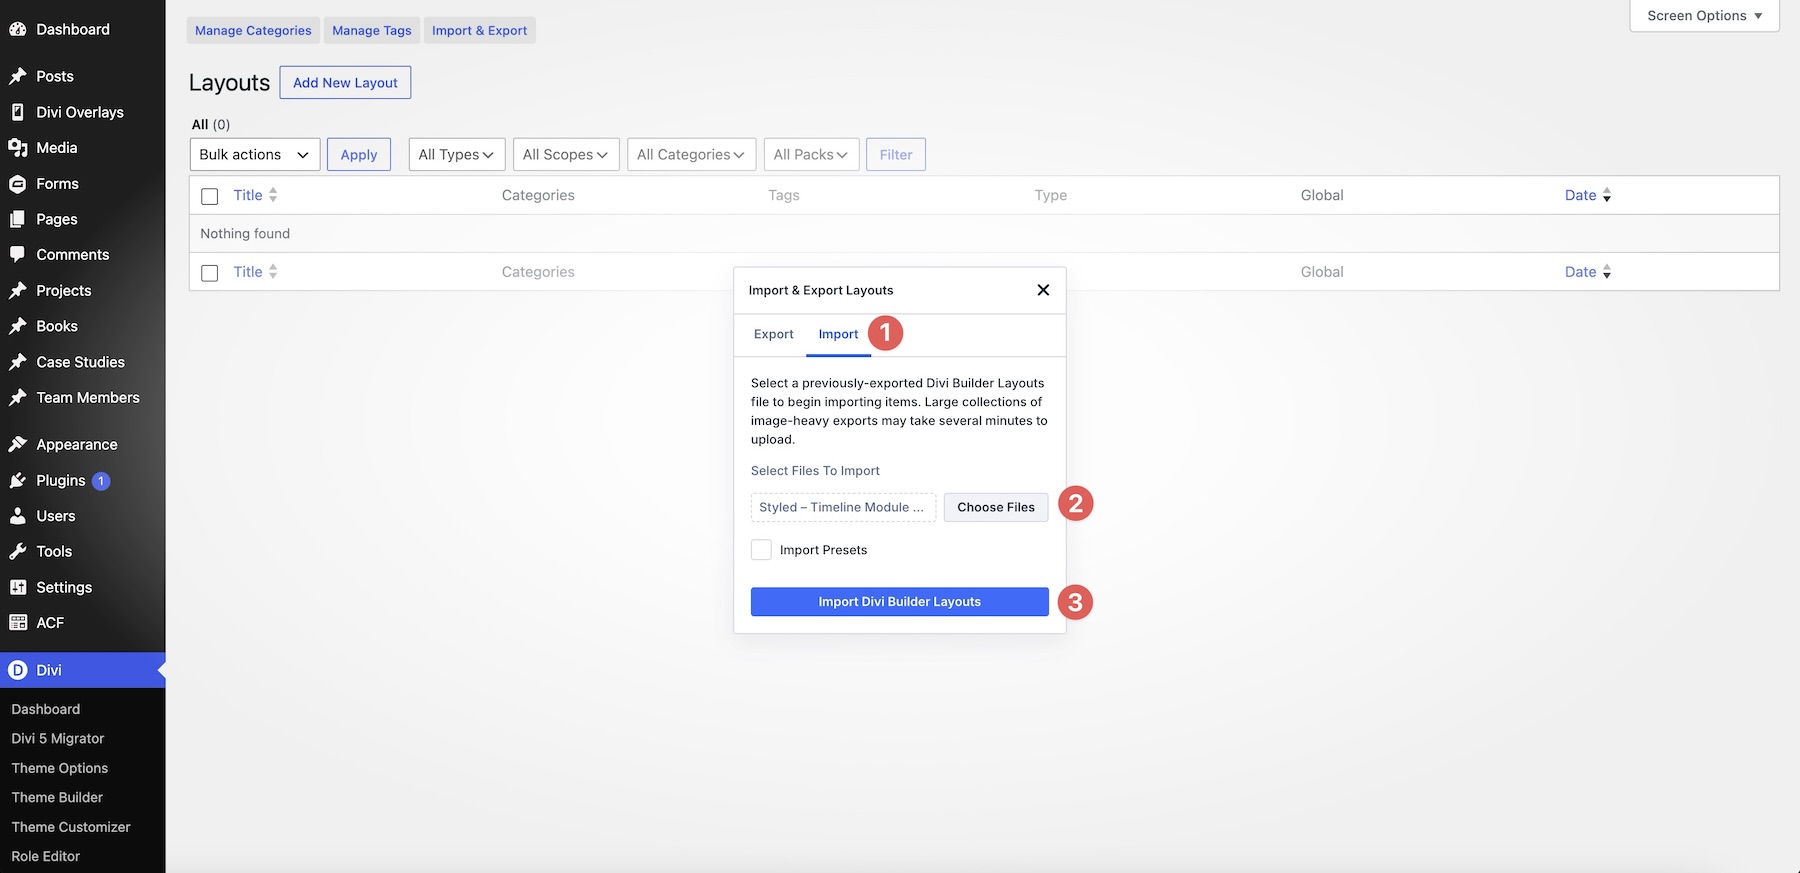
Open the Import tab, click Choose File, and select an included JSON file from the unzipped download. Select the JSON itself, rather than the ZIP archive. Click Import Divi Builder Layouts and wait for the import to finish. Repeat for any additional files you want to use. The imported designs will then be available in your Divi Library.
2. Add A Saved Design To Your Page
Open the page you want to edit in the Visual Builder. Insert the saved design at the level it was exported.
For a saved section, add a new section, choose Add From Library, select the timeline design, and click Use This Section. This brings in the surrounding layout along with the timeline.
For a standalone saved module, open the module insertion dialog inside your chosen column and select the design from the Library there.
Once the design is on the page, open the Timeline Module’s settings. If you have trouble selecting it on the canvas, use the Layers panel to locate the Timeline Module and its items.
3. Replace The Timeline Content
Open the Timeline Item you want to edit. Replace the sample heading, description, and any date or milestone label used in that design. Keep the wording specific to your project so visitors can understand what happened at each stage.
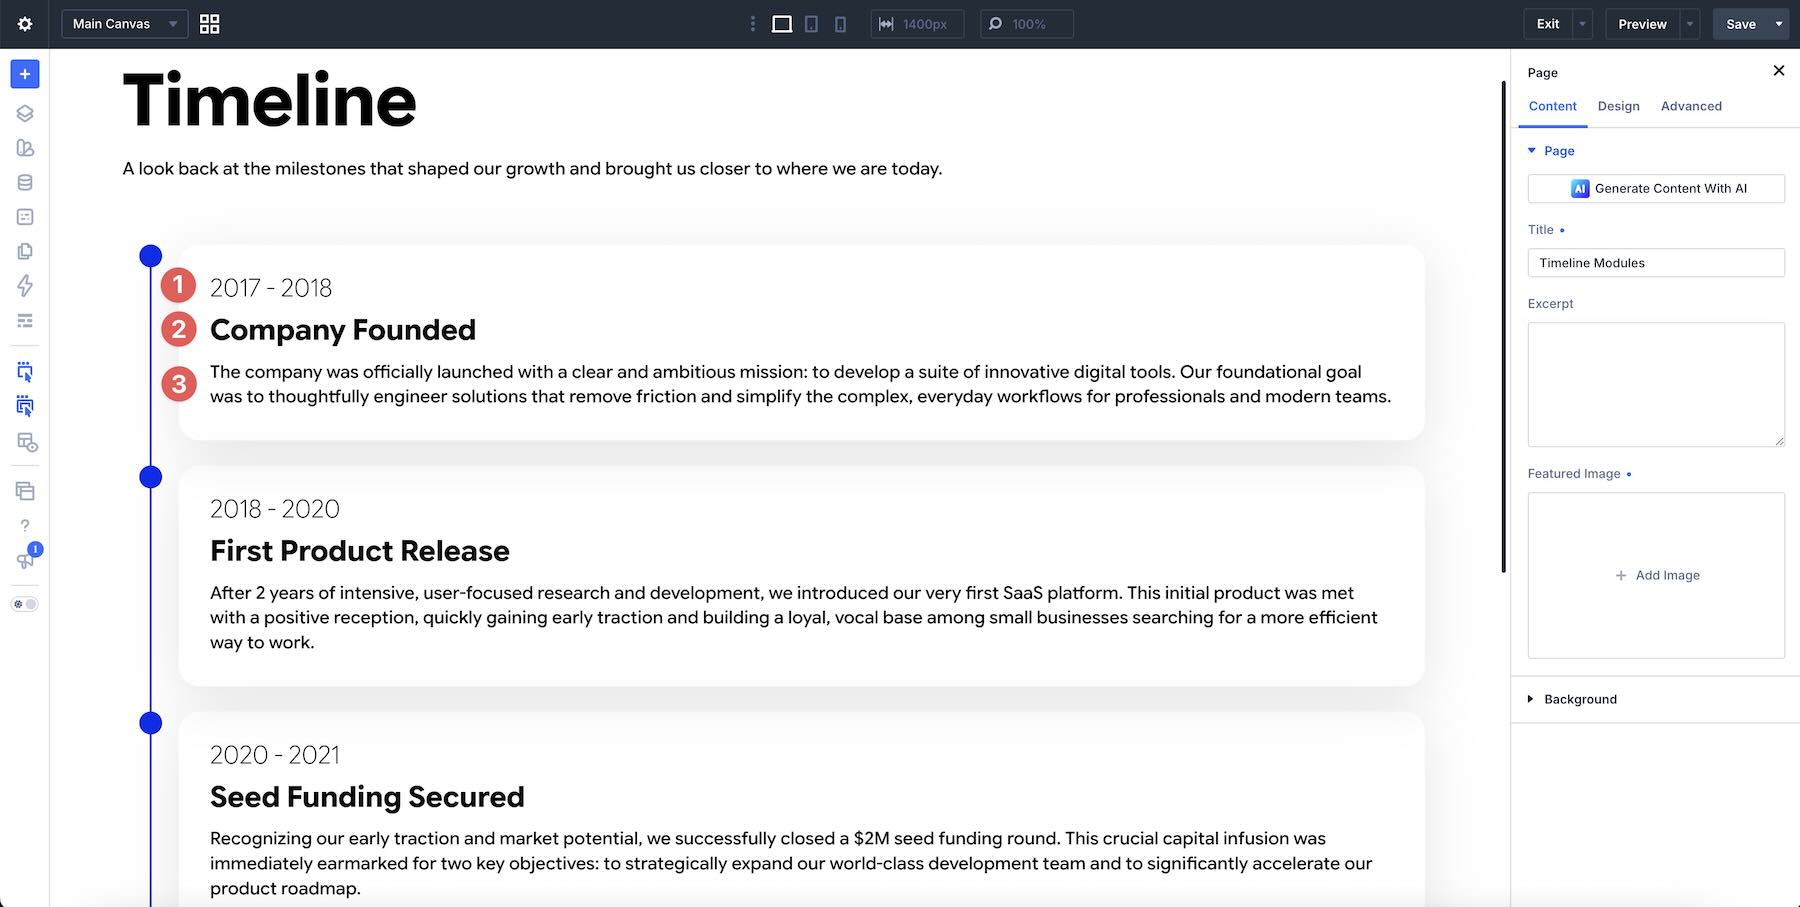
A company history might use a year and a short description of each milestone. A service process could use labels such as Discovery, Design, and Launch. Use one labeling approach consistently throughout the timeline.
If an item contains nested modules, open the relevant module to update its content. For example, edit a nested Image Module to replace a photograph, or a Button Module to change its label and destination URL.
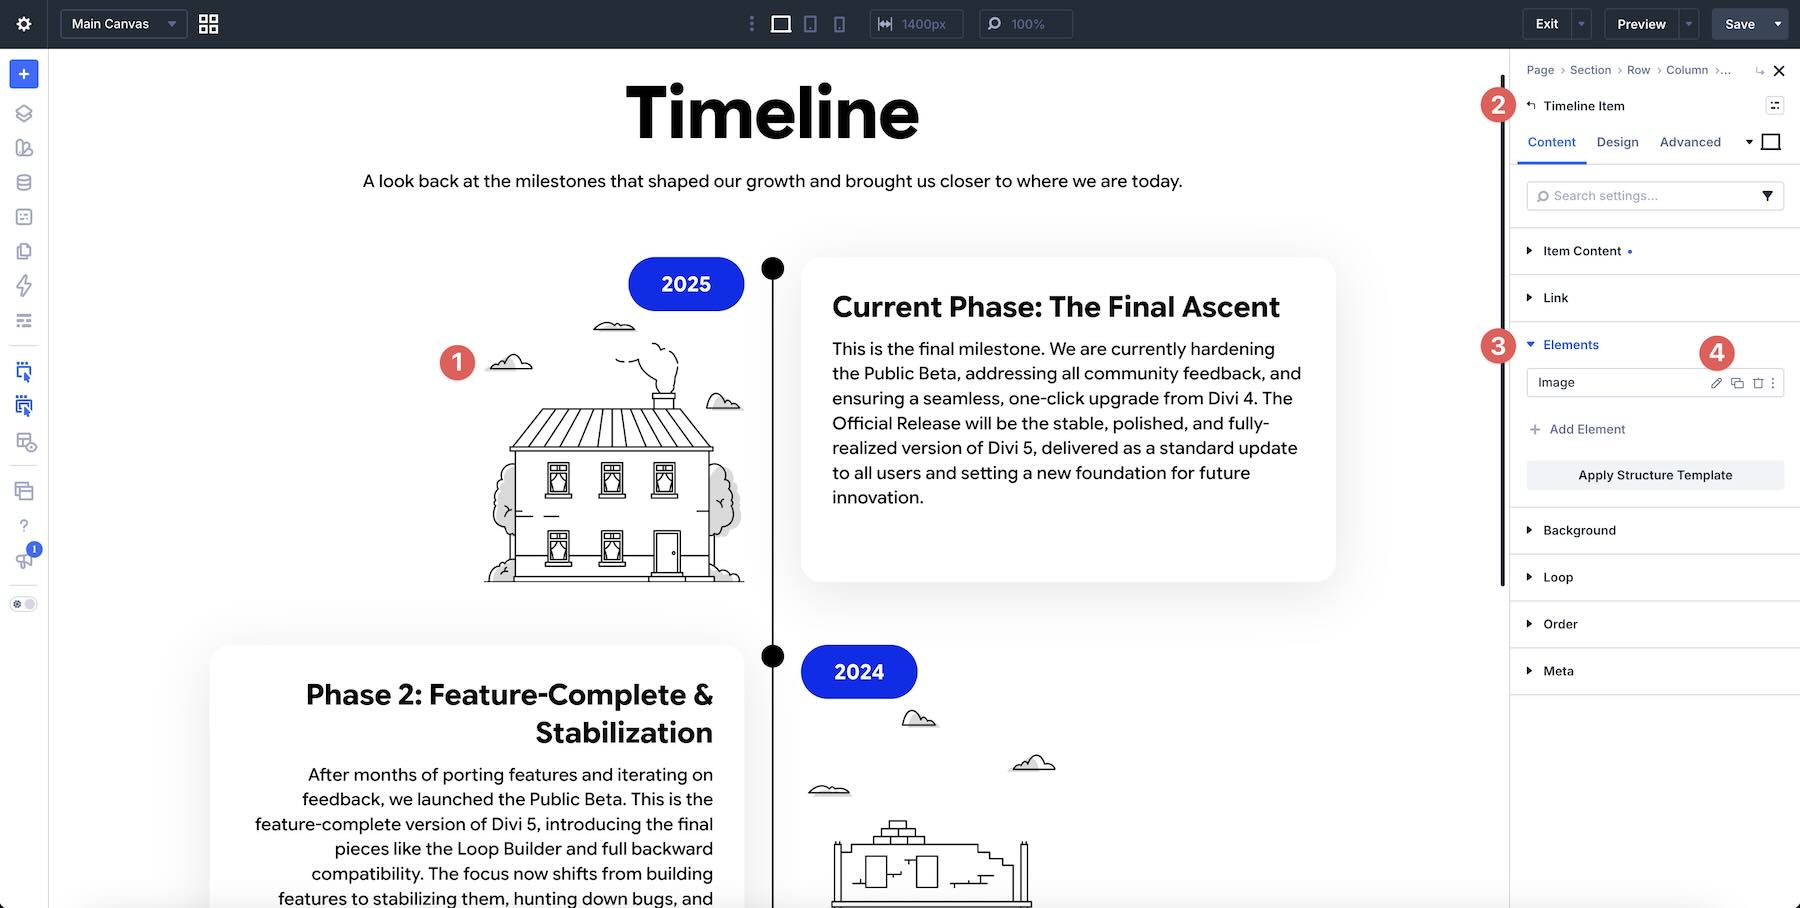
Work through each item and replace any remaining sample links. Preview the timeline with your actual content before making final spacing adjustments, since longer headings and descriptions can change the balance of the layout.
4. Add, Remove, Or Reorder Items
Adjust the timeline to match the number of milestones you need. Duplicate an existing Timeline Item when you want to reuse its structure, then replace the duplicated content. Remove items that do not belong in your sequence.
Use the item controls or the Layers panel to arrange the Timeline Items in the order you want visitors to read them. Move the whole item so its label, text, and nested content stay together.
For a process, keep the stages in the order people complete them. For a company or product history, choose chronological or reverse-chronological order and follow it consistently. Changing a displayed date alone does not establish the order of manually arranged items.
5. Match The Styling To Your Website
Use the Design settings to adapt the imported timeline to your site’s typography, colors, and spacing. Start with the main text and background colors, then refine the timeline details and the spacing around each item.
You can also use Divi 5’s Inspector to review the styles used in the design and make coordinated adjustments. This is helpful when you want an imported timeline to match the rest of a page.
When you have a style you want to repeat, save the relevant settings as a Preset. Save the complete customized layout to your Divi Library when you want to reuse its structure and content as well. A styling Preset and a saved layout serve different purposes.
6. Check Tablet And Phone Layouts
Switch between desktop, tablet, and phone views to see how the timeline fits at different widths. Pay particular attention to long headings, images, and the space available for each description.
Use Divi 5’s Customizable Responsive Breakpoints to adjust the design where needed. A horizontal arrangement may benefit from a vertical direction on smaller screens. Check the item’s offset and alignment alongside the direction so the sequence stays easy to follow.
Preview the finished page outside the builder too. Make sure every milestone is readable, links are easy to select, and the timeline does not create unwanted horizontal scrolling.
Tips For Effective Timelines
The layout gives your story a structure. These small content and design choices help visitors follow it.
Keep Each Milestone Focused
Use a short heading and a brief description for each item. Give readers the main event or action first, then link to a separate page if they need more detail. Similar text lengths can help the timeline feel balanced, but clarity matters more than making every card identical.
If the copy is too long, Divi AI can help shorten it. Review the result to make sure important dates, names, and facts remain accurate.
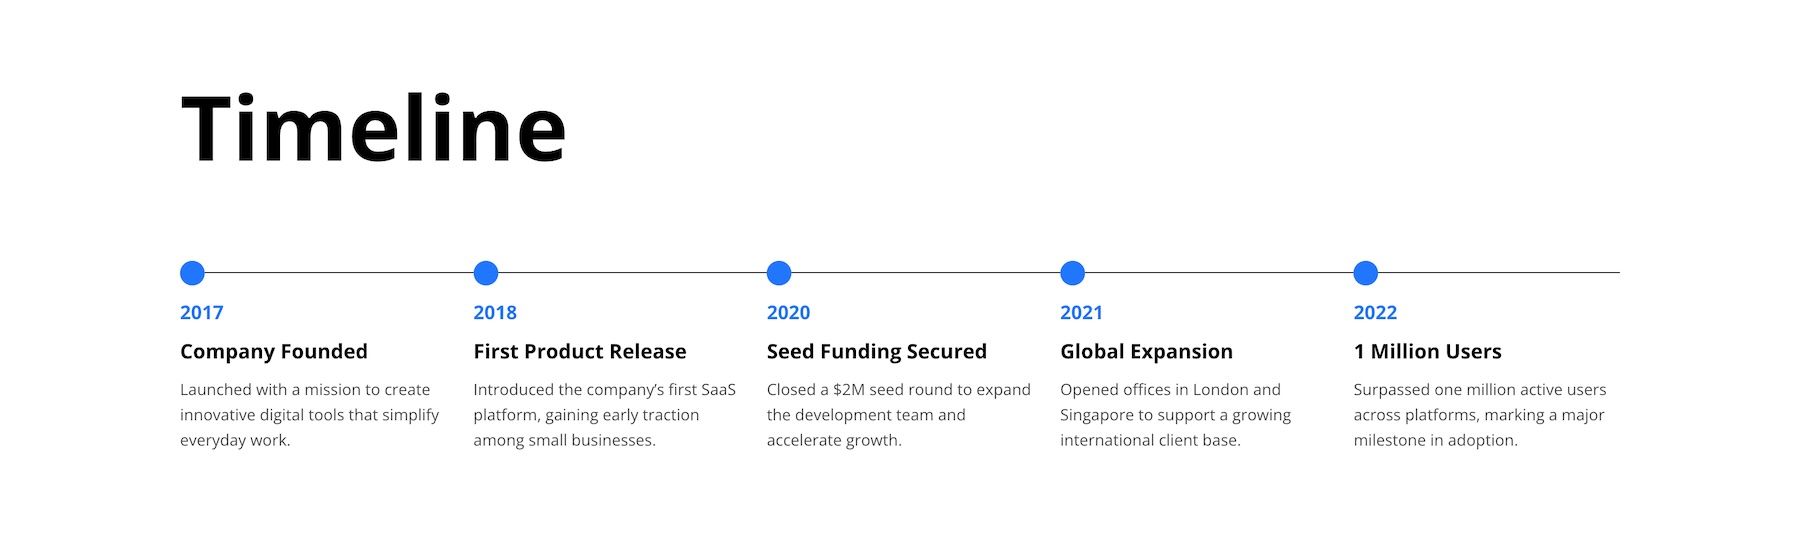
Give Important Moments More Emphasis
A launch, major achievement, or current project phase may deserve a stronger heading, an image, or an accent color. Use that emphasis selectively so readers can distinguish key moments from supporting steps.
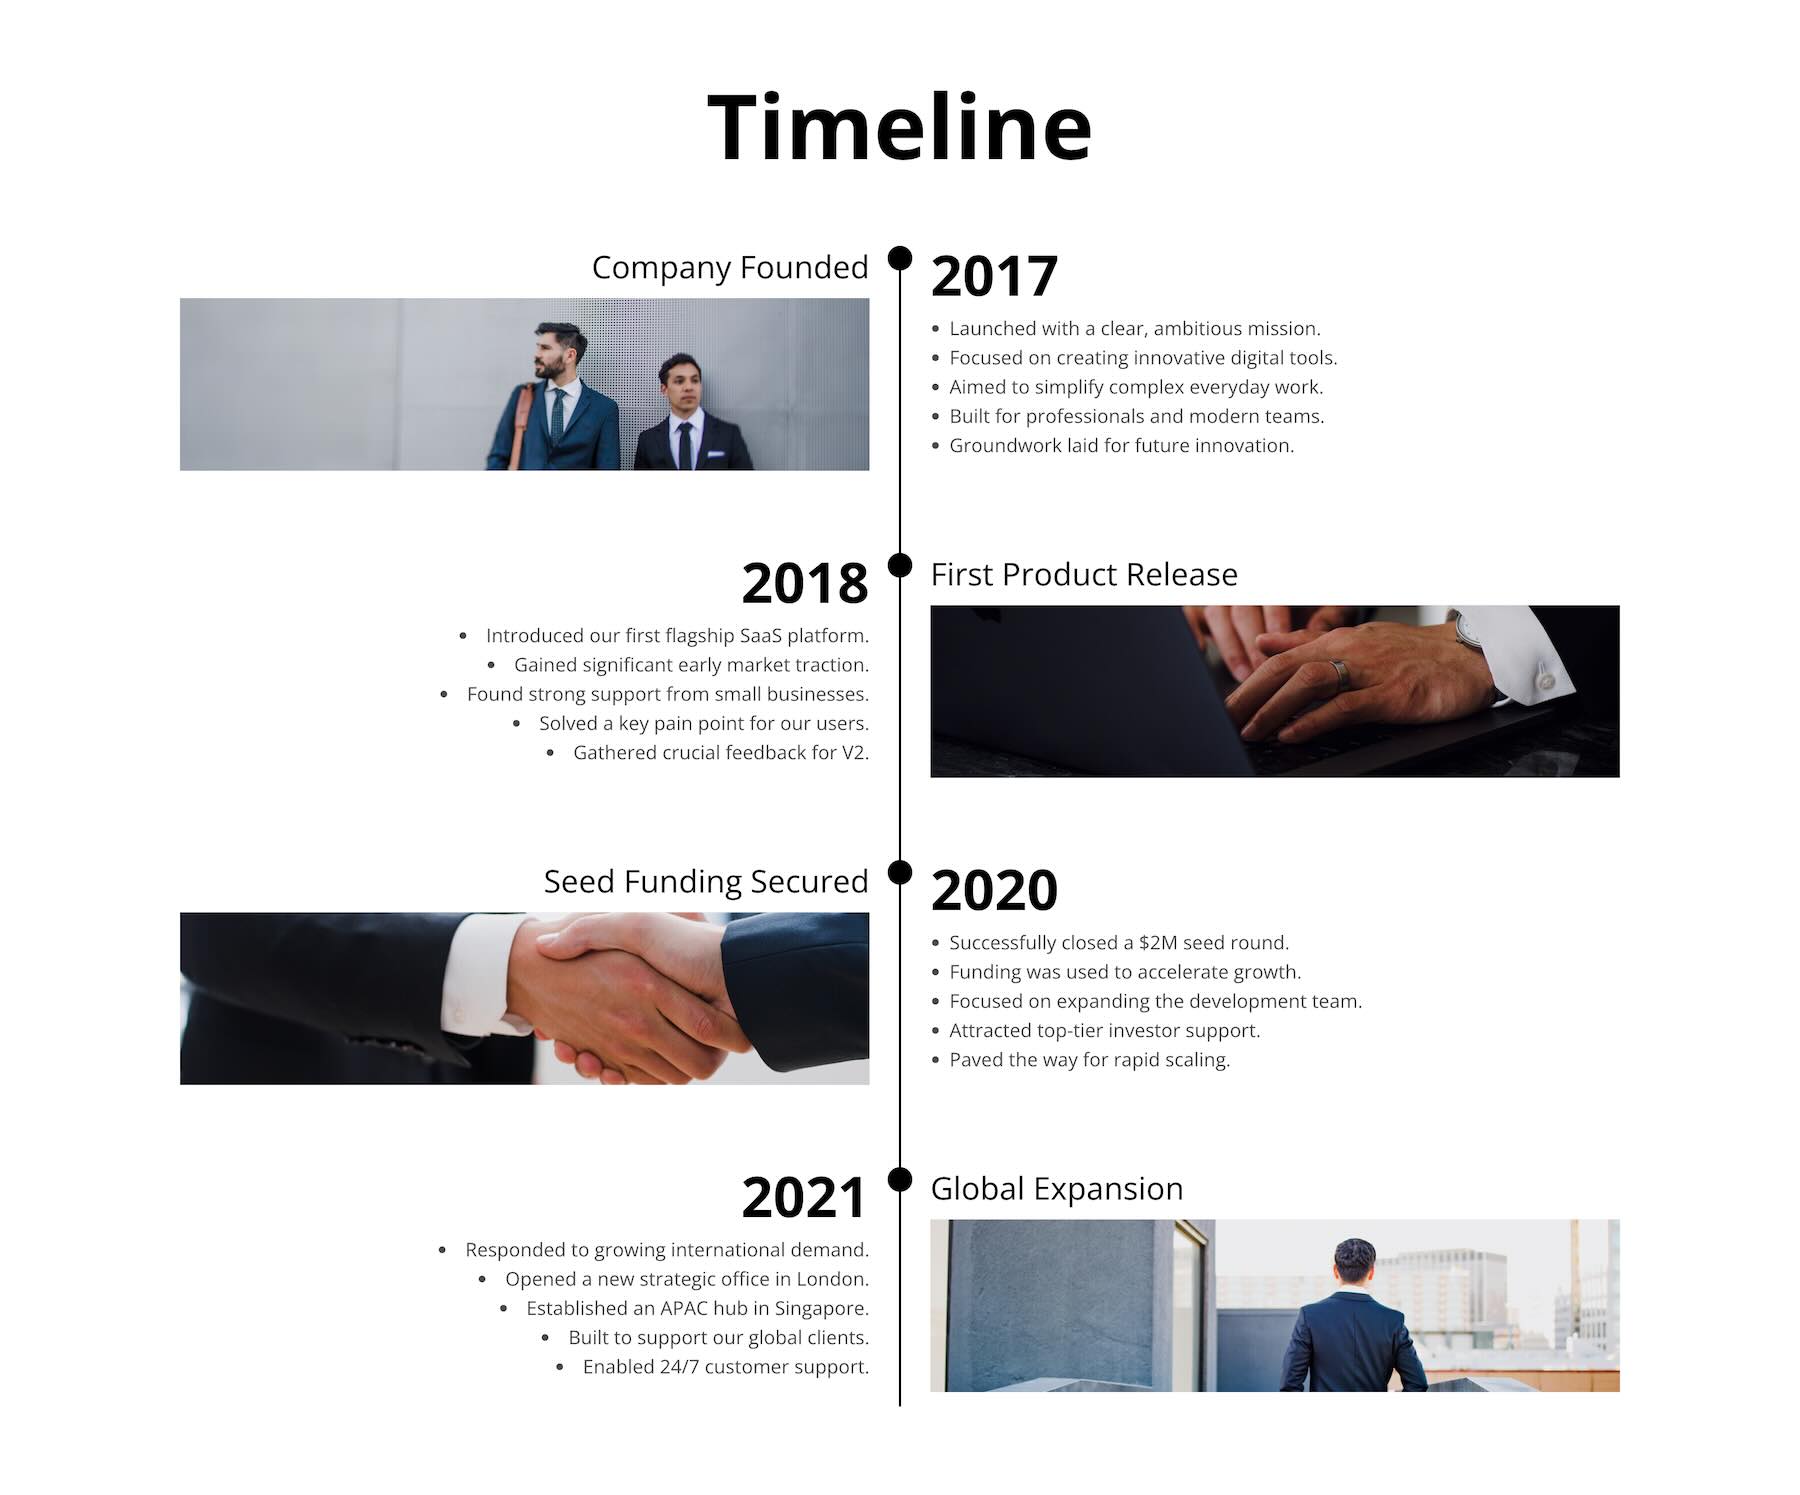
Keep Text Easy To Read
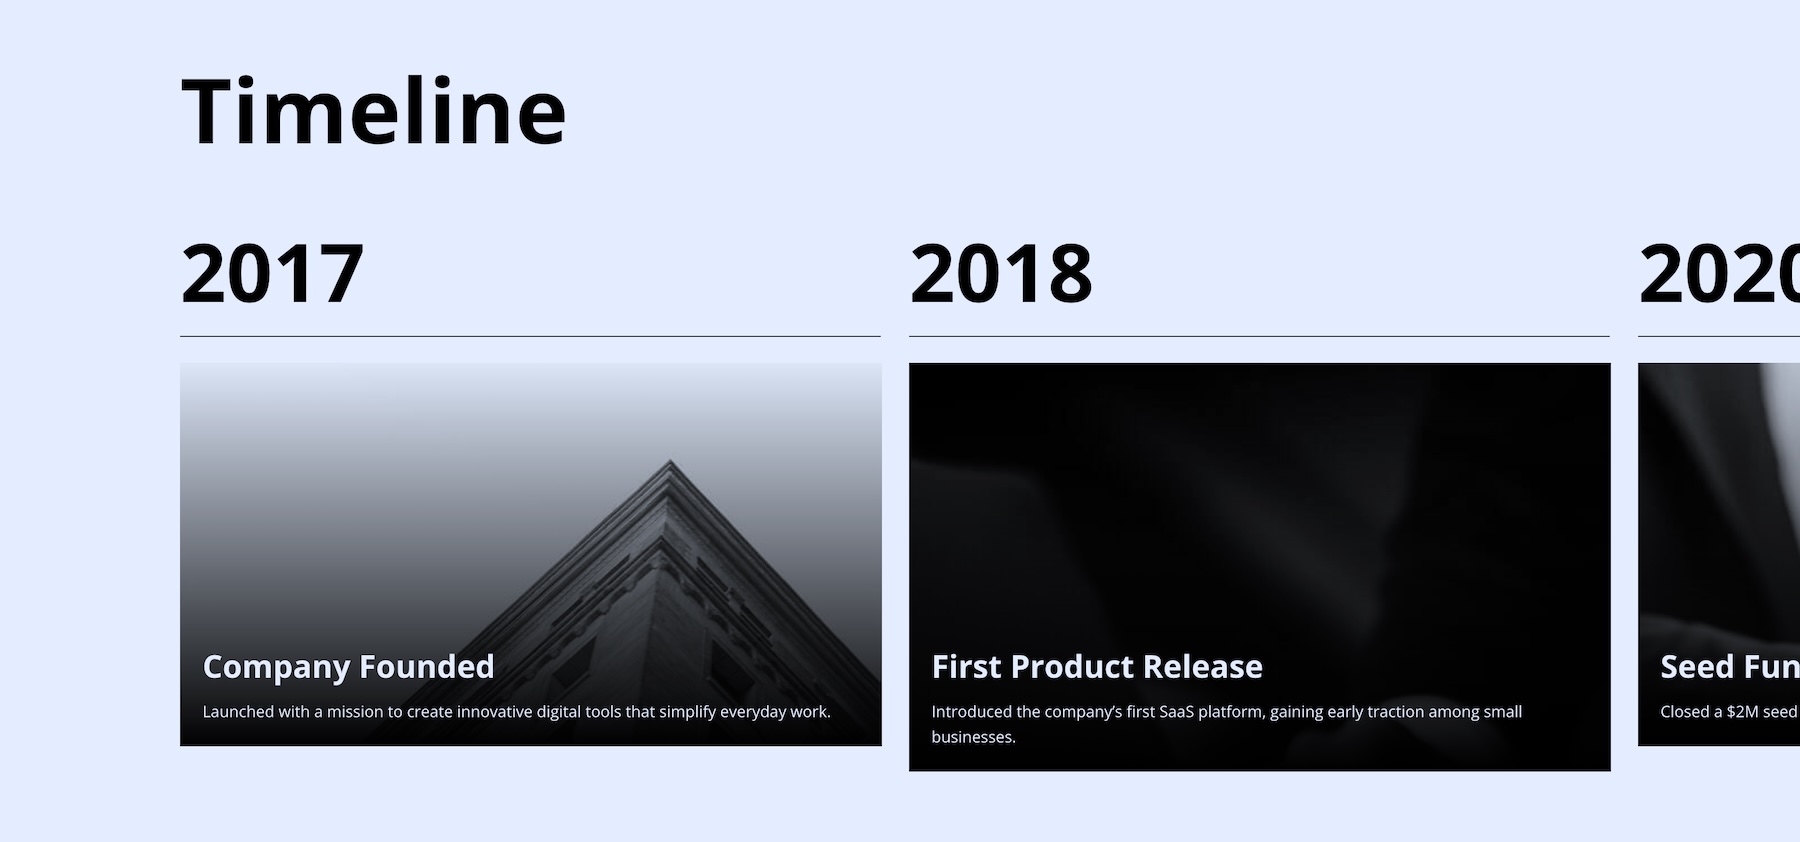
Choose text and background colors that remain distinct, especially when an item includes a photograph or gradient. Check small labels and dates as carefully as the main headings. If the background competes with the copy, simplify it or place the text on a solid surface.
Use Consistent Imagery
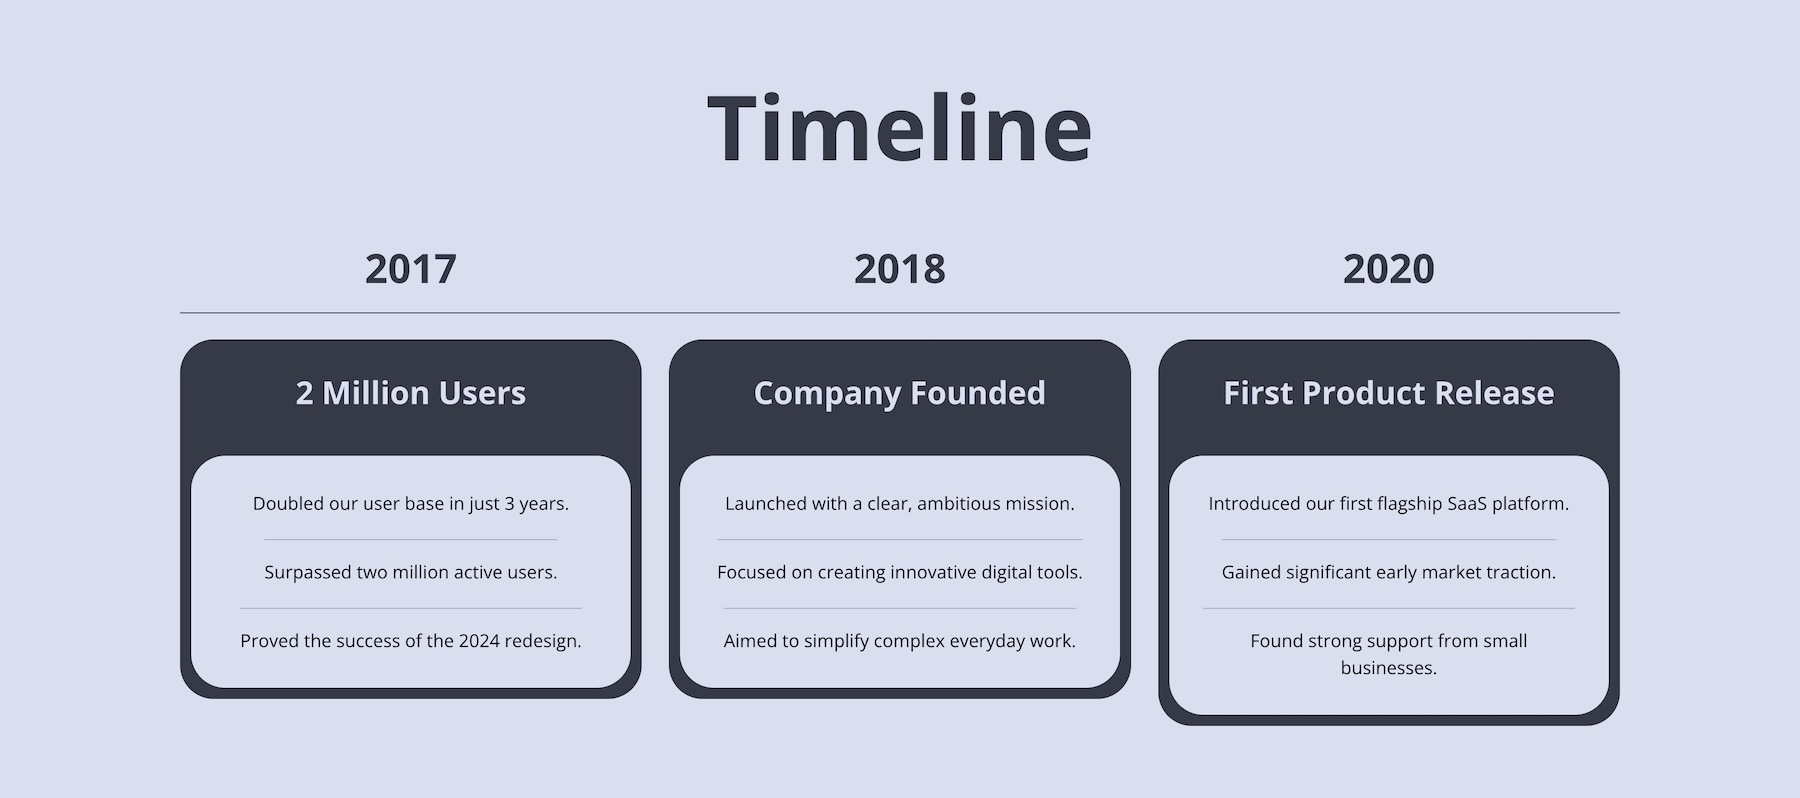
Choose photographs and icons that work together. Consistent image proportions and a shared icon style make the timeline easier to scan. Use relevant visuals for the milestones that need them, rather than adding an image to every item simply to fill space.
Give informative images useful alt text. Leave the alt text empty for images that are purely decorative.
Use Motion Selectively
A subtle entrance animation can help introduce a milestone. Keep it restrained and make sure the content remains readable while visitors scroll. A long timeline should be comfortable to browse without waiting for repeated effects to finish.
Build Your Next Timeline With Divi 5
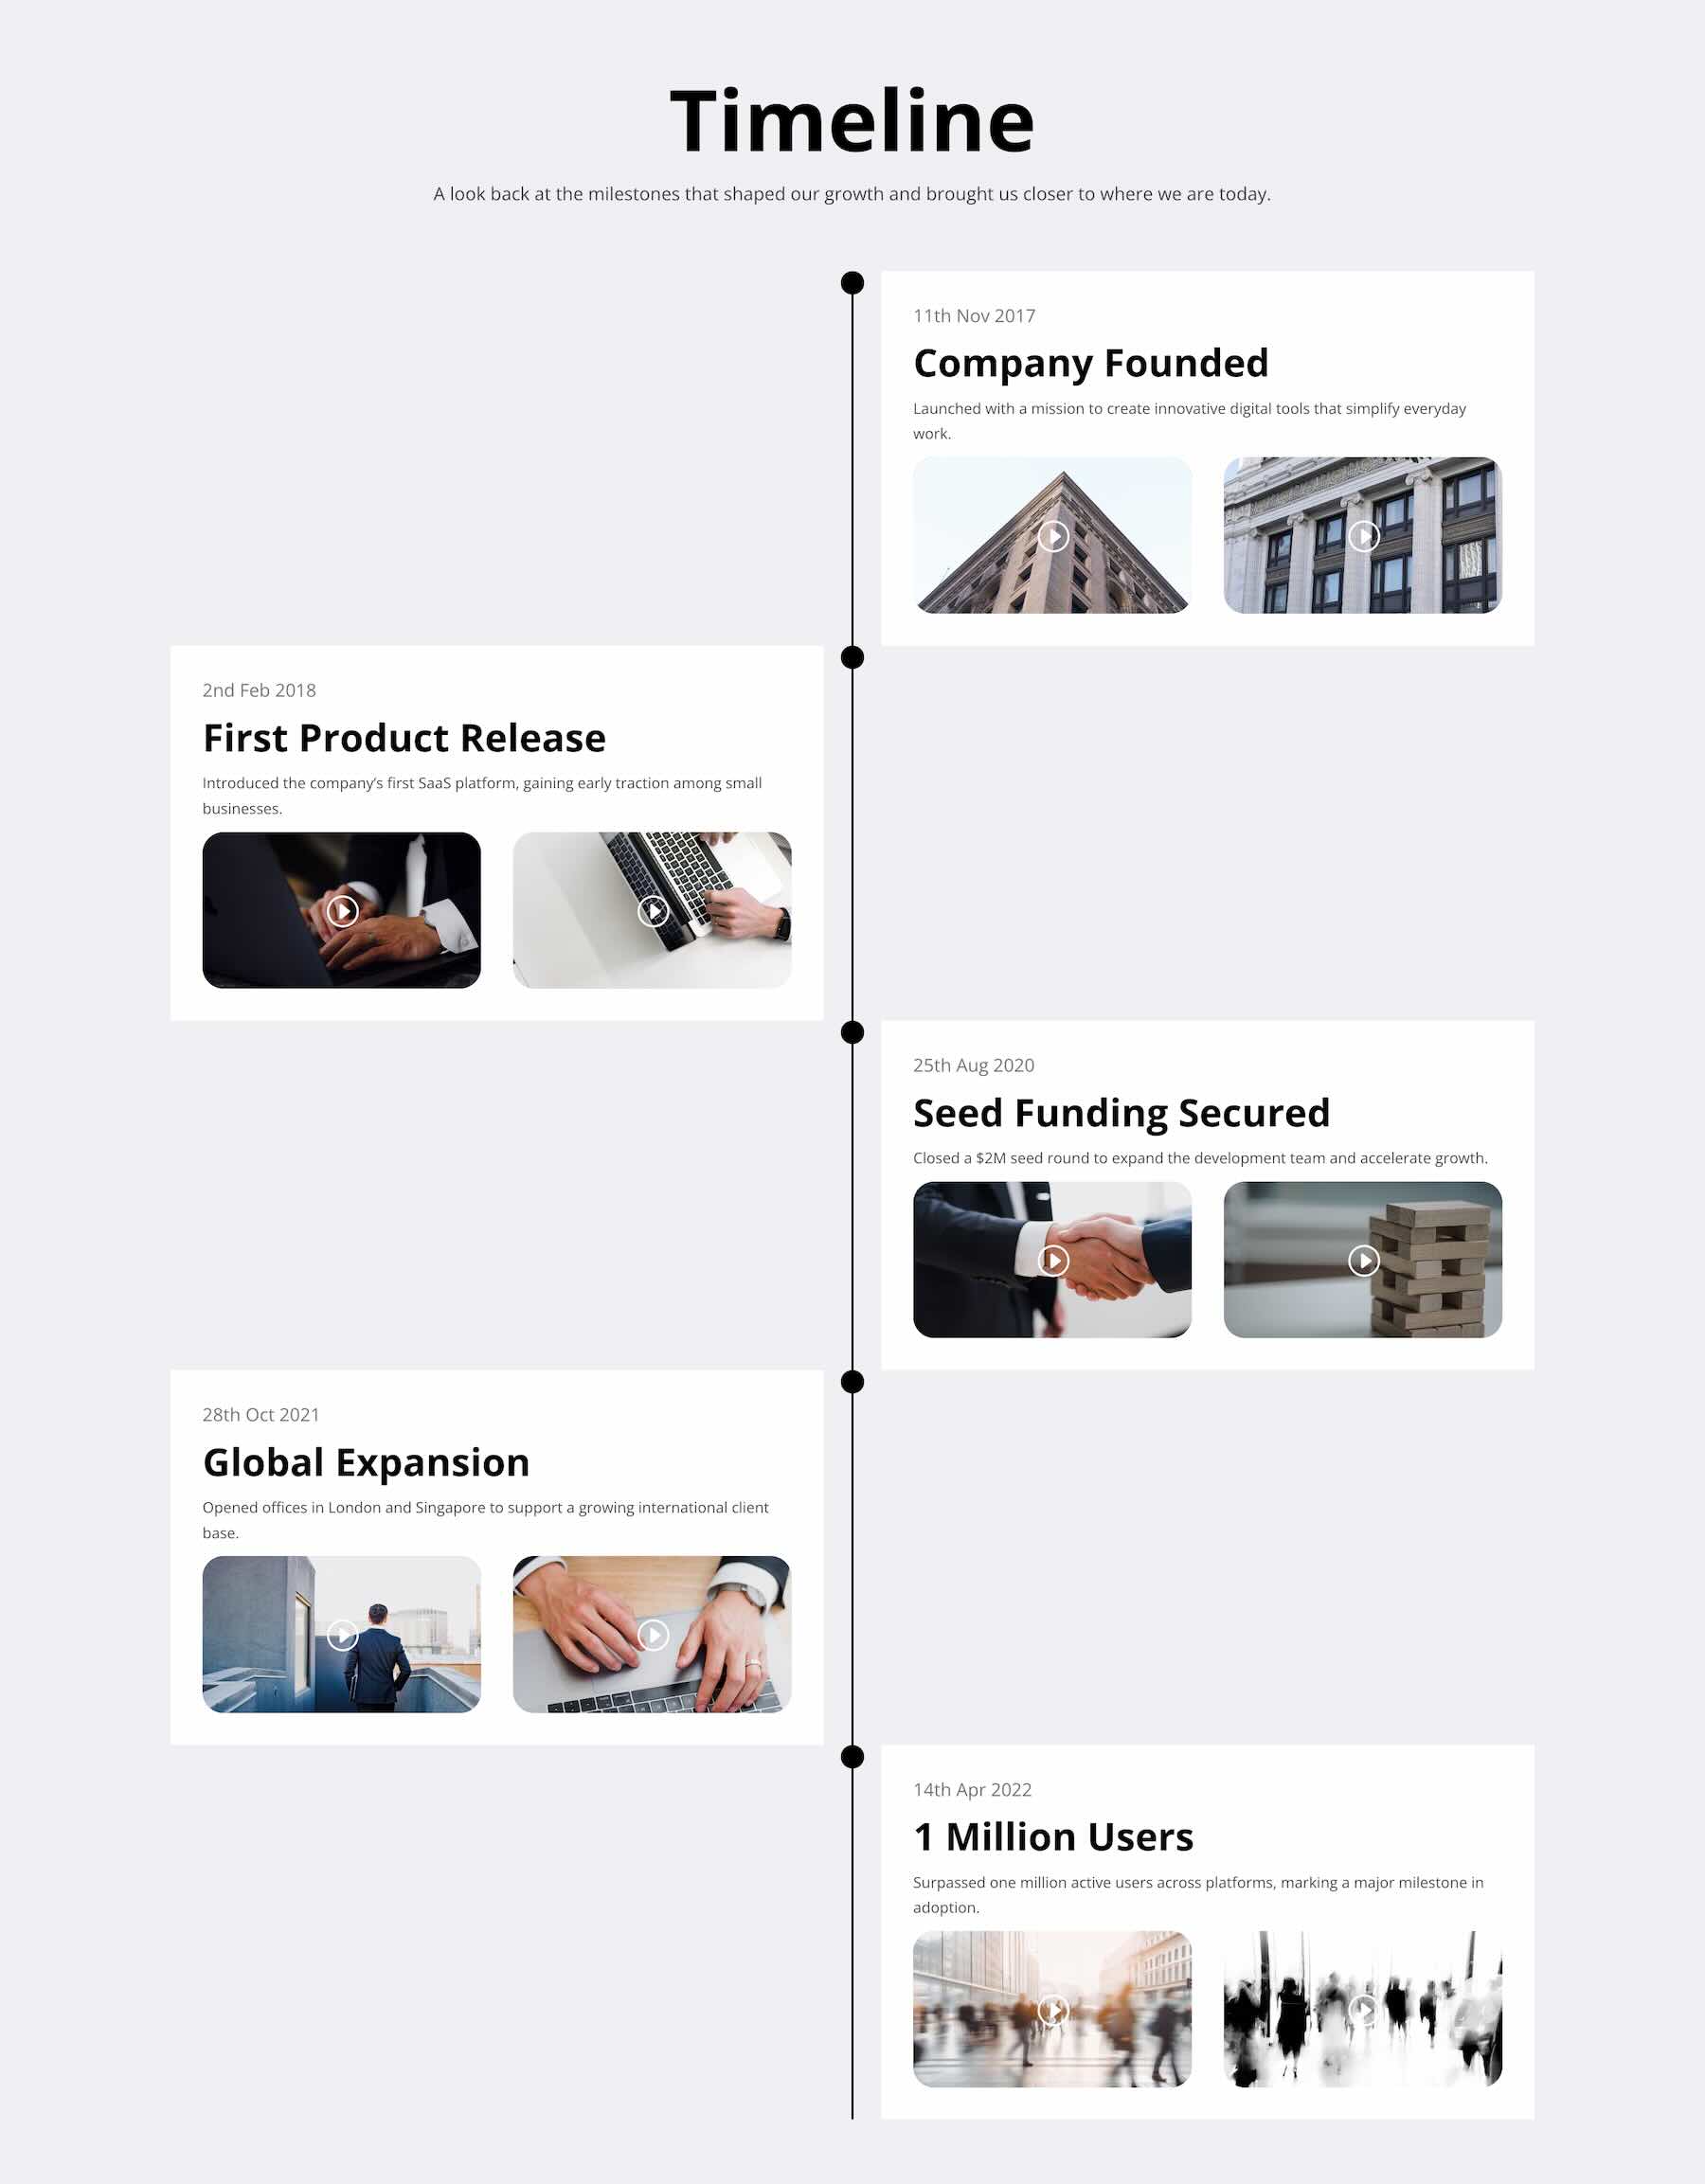
These nine Timeline Module designs give you a familiar set of starting points with Divi 5’s dedicated timeline structure underneath. Import the design that fits your project, replace the milestones, and adapt the styling to your site.
Whether you’re explaining a process or sharing a company history, Divi 5 gives you the tools to shape the sequence around your content.
The post 9 Timeline Module Layouts For Divi 5 (Free Download!) appeared first on Elegant Themes Blog.
The Tech Zone


Comments
Post a Comment