How To Migrate From Divi 4 To Divi 5 (Complete Guide)
Divi 5 is officially here. If you have an existing Divi website, migrating to Divi 5 is the single most impactful upgrade you can make. The new framework delivers faster page loads, a redesigned Visual Builder, and features that fundamentally change what’s possible. This guide walks you through every step of the Divi 4 to Divi 5 migration, so you can step into the future of Divi with confidence.
What Changes When You Migrate To Divi 5
Before getting into the how, it helps to understand what the migration actually does under the hood. Divi 4 stores all layout data as shortcodes, such as [et_pb_section] and [et_pb_row], embedded directly in your post content. This format served Divi well for years, but over time, it led to performance constraints and slowed the pace of new feature development.
Divi 5 replaces shortcode-based layout storage with a new, more stable storage format behind the scenes. When you run the migration, the Divi 5 Migrator converts every supported module on your site from the old shortcode format to this new structure. Your content, design settings, and configurations are preserved. The front end of your site looks and functions the same after migration. The difference is entirely in how Divi processes and renders that data, which is where the performance gains come from.
Modules that aren’t yet supported by Divi 5 (primarily third-party extensions from the Divi Marketplace) get wrapped into a backward-compatibility layer that continues running them using the Divi 4 framework. That means legacy Divi 4 modules can continue running through Divi 5’s backward-compatibility layer instead of being converted natively. Those modules keep working exactly as they did before until their developers release Divi 5-native updates.
Why Migrate Now?
The short answer: Divi 5 is no longer in beta! This is the production-ready release and is the official recommendation for all new sites and for all sites now on Divi 4.
For sites that rely on third-party extensions, the transition is now much more practical. Divi 5 includes a backward-compatibility system that allows legacy third-party modules to keep functioning while developers roll out native Divi 5 updates. That means you do not necessarily have to wait for every product in your stack to be fully rebuilt before making the move. And now that Divi 5 is officially released, third-party developers have a stable production target, which means compatibility updates should begin arriving much more quickly across the Divi ecosystem.
Here’s what you gain immediately after migration:
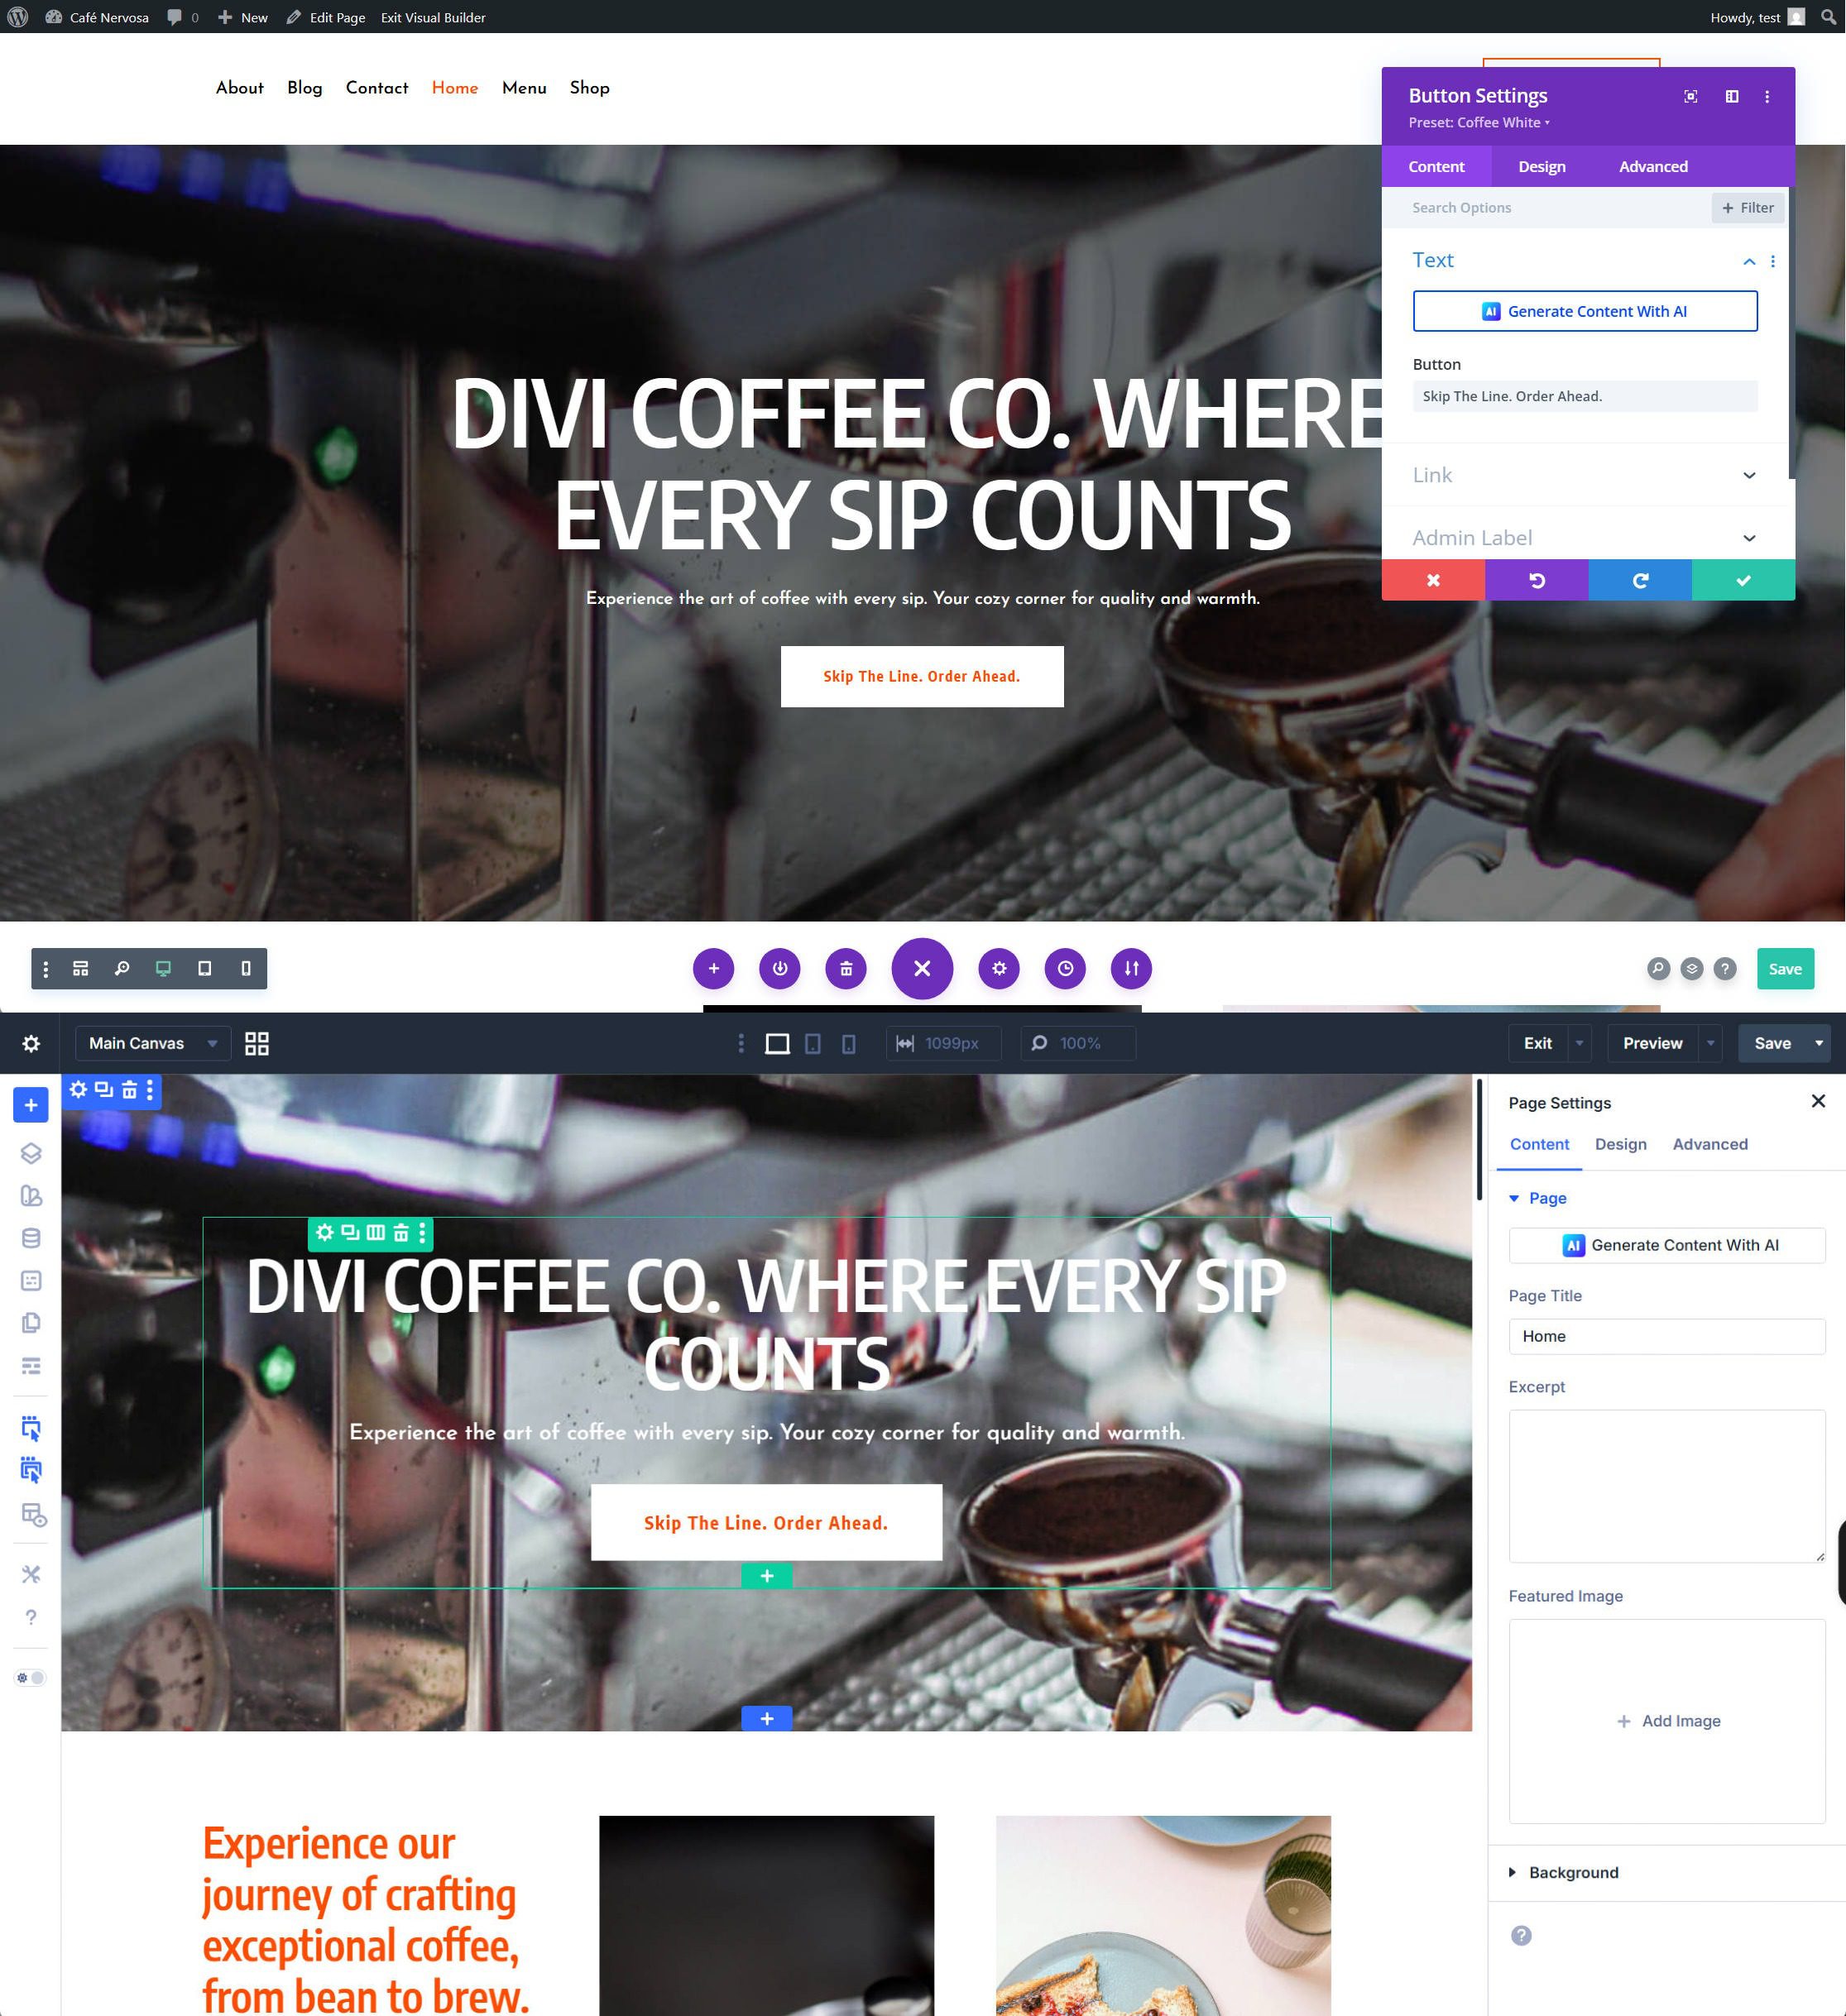
A completely redesigned interface. The Visual Builder has been rebuilt from scratch. A persistent left sidebar gives you constant access to the Layers view, Design Variables, and so many other tools. Contextual floating menus appear on hover for quick actions. The right sidebar adapts to whatever element you select, with settings organized into Content, Design, and Advanced tabs (same as Divi 4, but with much more power baked in).
Native CSS Grid and Flexbox. Divi 5 includes built-in CSS Grid and Flexbox layout systems. You can create complex, responsive layouts that were previously impossible without custom CSS. And these aren’t just new display types — they are the best implementations of these layout features in any page builder.
Design Variables and Option Group Presets. The Preset system in Divi 5 works at multiple levels. Element Presets save an entire module’s configuration. Option Group Presets save individual style groups (like spacing or borders) that you can apply across different module types. Combined with Design Variables, you can build and maintain design systems that update globally from a single source.
Interactions Builder, Loop Builder, and more. The Interactions Builder enables trigger-driven effects without plugins. The Loop Builder lets you create custom dynamic content templates. Custom Attributes, Find & Replace, Nested Rows, Advanced Units, HSL & Relative Colors, and Customizable Responsive Breakpoints — these are features that simply do not exist in Divi 4. And there is quite a list of features we haven’t even mentioned.
The longer you wait, the more you miss out on. And with backward compatibility handling your Divi 4 third-party modules, waiting means delaying all these benefits for no practical reason.
How To Migrate From Divi 4 To Divi 5
A few simple steps will get you on your way.
Step 1: Create A Staging Site And Back Up Your Data
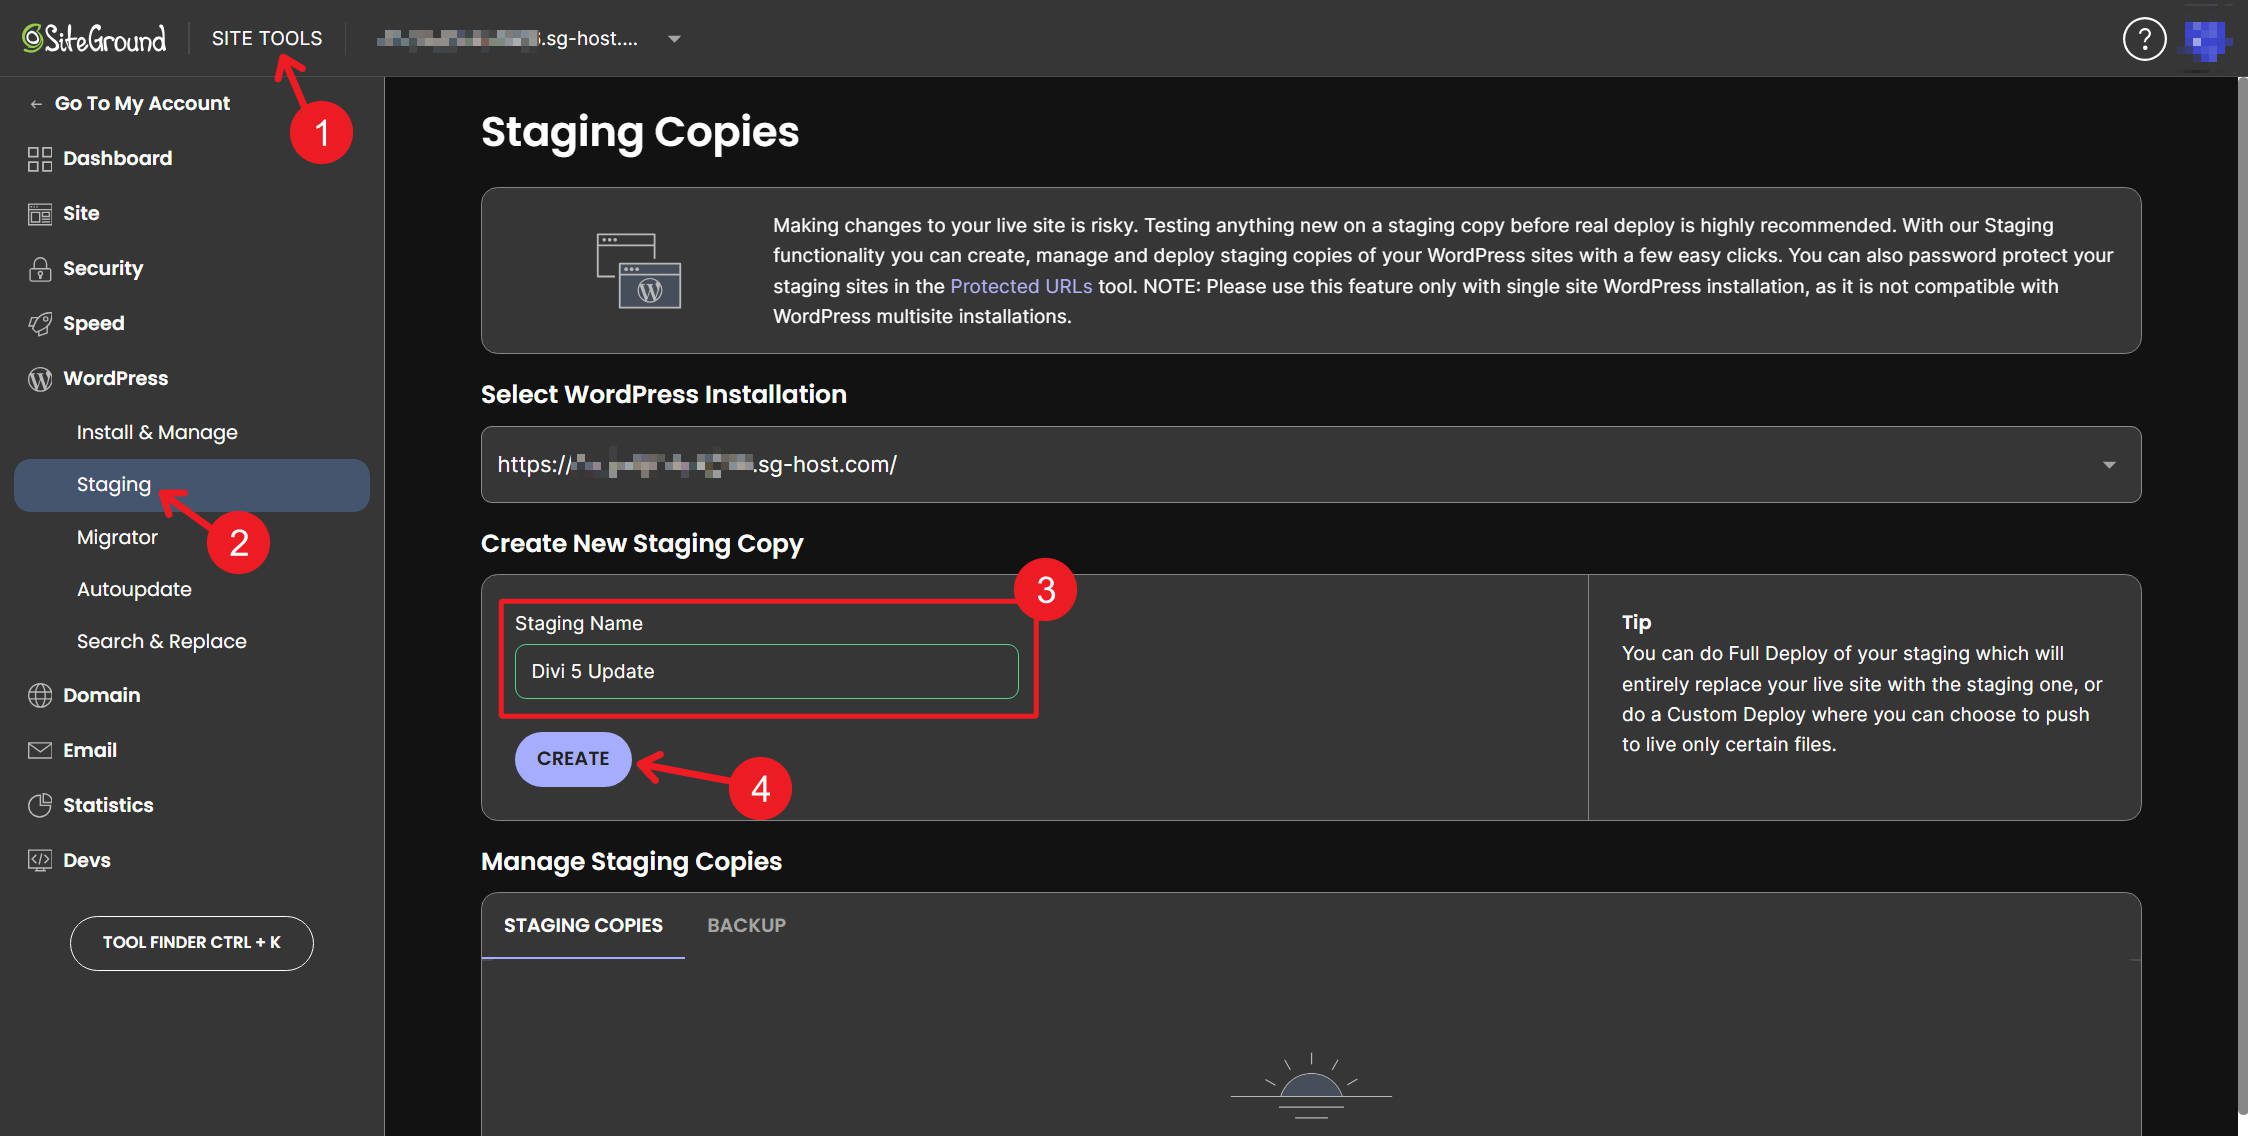
Do not skip this step. To make migration safer, we strongly recommend creating a staging site — a private clone of your website where you can test the migration without affecting your live site. Divi has some built-in protections, but you should absolutely do what you can to protect your site.
If your hosting provider doesn’t offer one-click staging (like SiteGround, Cloudways, or WP Engine), you can use a plugin such as WP Staging. If a staging environment isn’t an option, you must at least perform a complete backup of your database, uploads, themes, and plugins using a tool like UpdraftPlus or BlogVault.
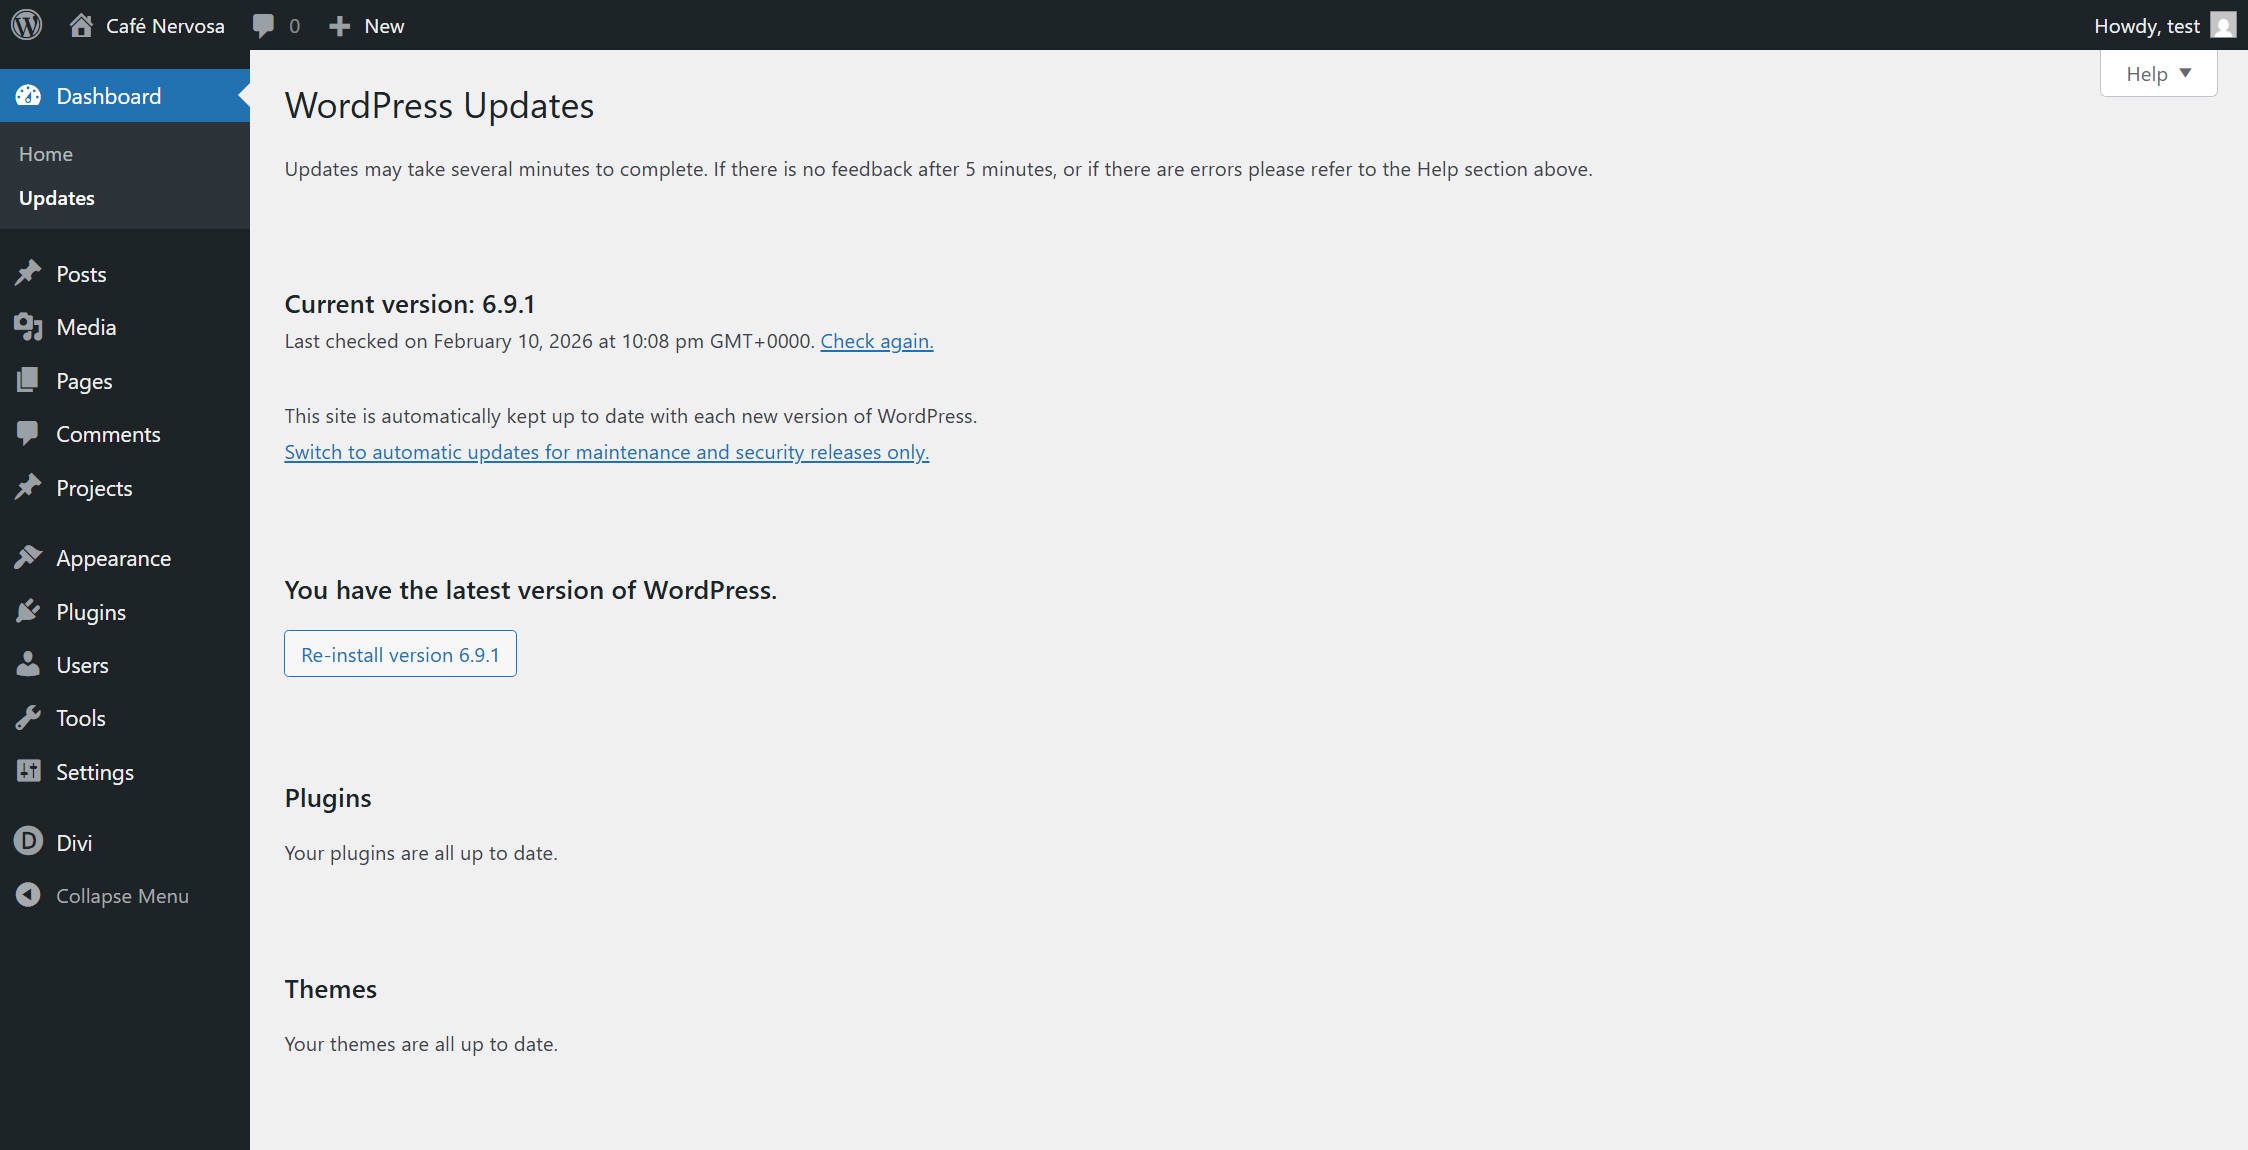
Before you back up or create a staging site, ensure WordPress core, Divi, and all Divi-related plugins are running their latest stable versions (D4).
Step 2: Audit Your Third-Party Extensions
If you use third-party Divi extensions — module packs, layout plugins, or custom functionality from the Divi Marketplace or other sources — take some time to check whether they’ve released Divi 5-compatible versions.
Third-party developers are responsible for updating their own plugins to work natively with Divi 5. Many have already done so, and more are releasing updates regularly. For extensions that haven’t been updated yet, Divi 5’s backward-compatibility system will keep them running without breaking. But any page that contains those legacy modules will load the Divi 4 framework, so they won’t get the full performance benefit until the extensions are updated.
Make a list of the third-party extensions you rely on. Check with each developer about their Divi 5 timeline. If the majority of your site depends on extensions that don’t yet have Divi 5-native versions, you can wait a few weeks and check back, or simply rely on backward compatibility.
Step 3: Install Divi 5
There are two ways to update your Divi 4 site to Divi 5. The easiest way is to update to the latest version of Divi 4.
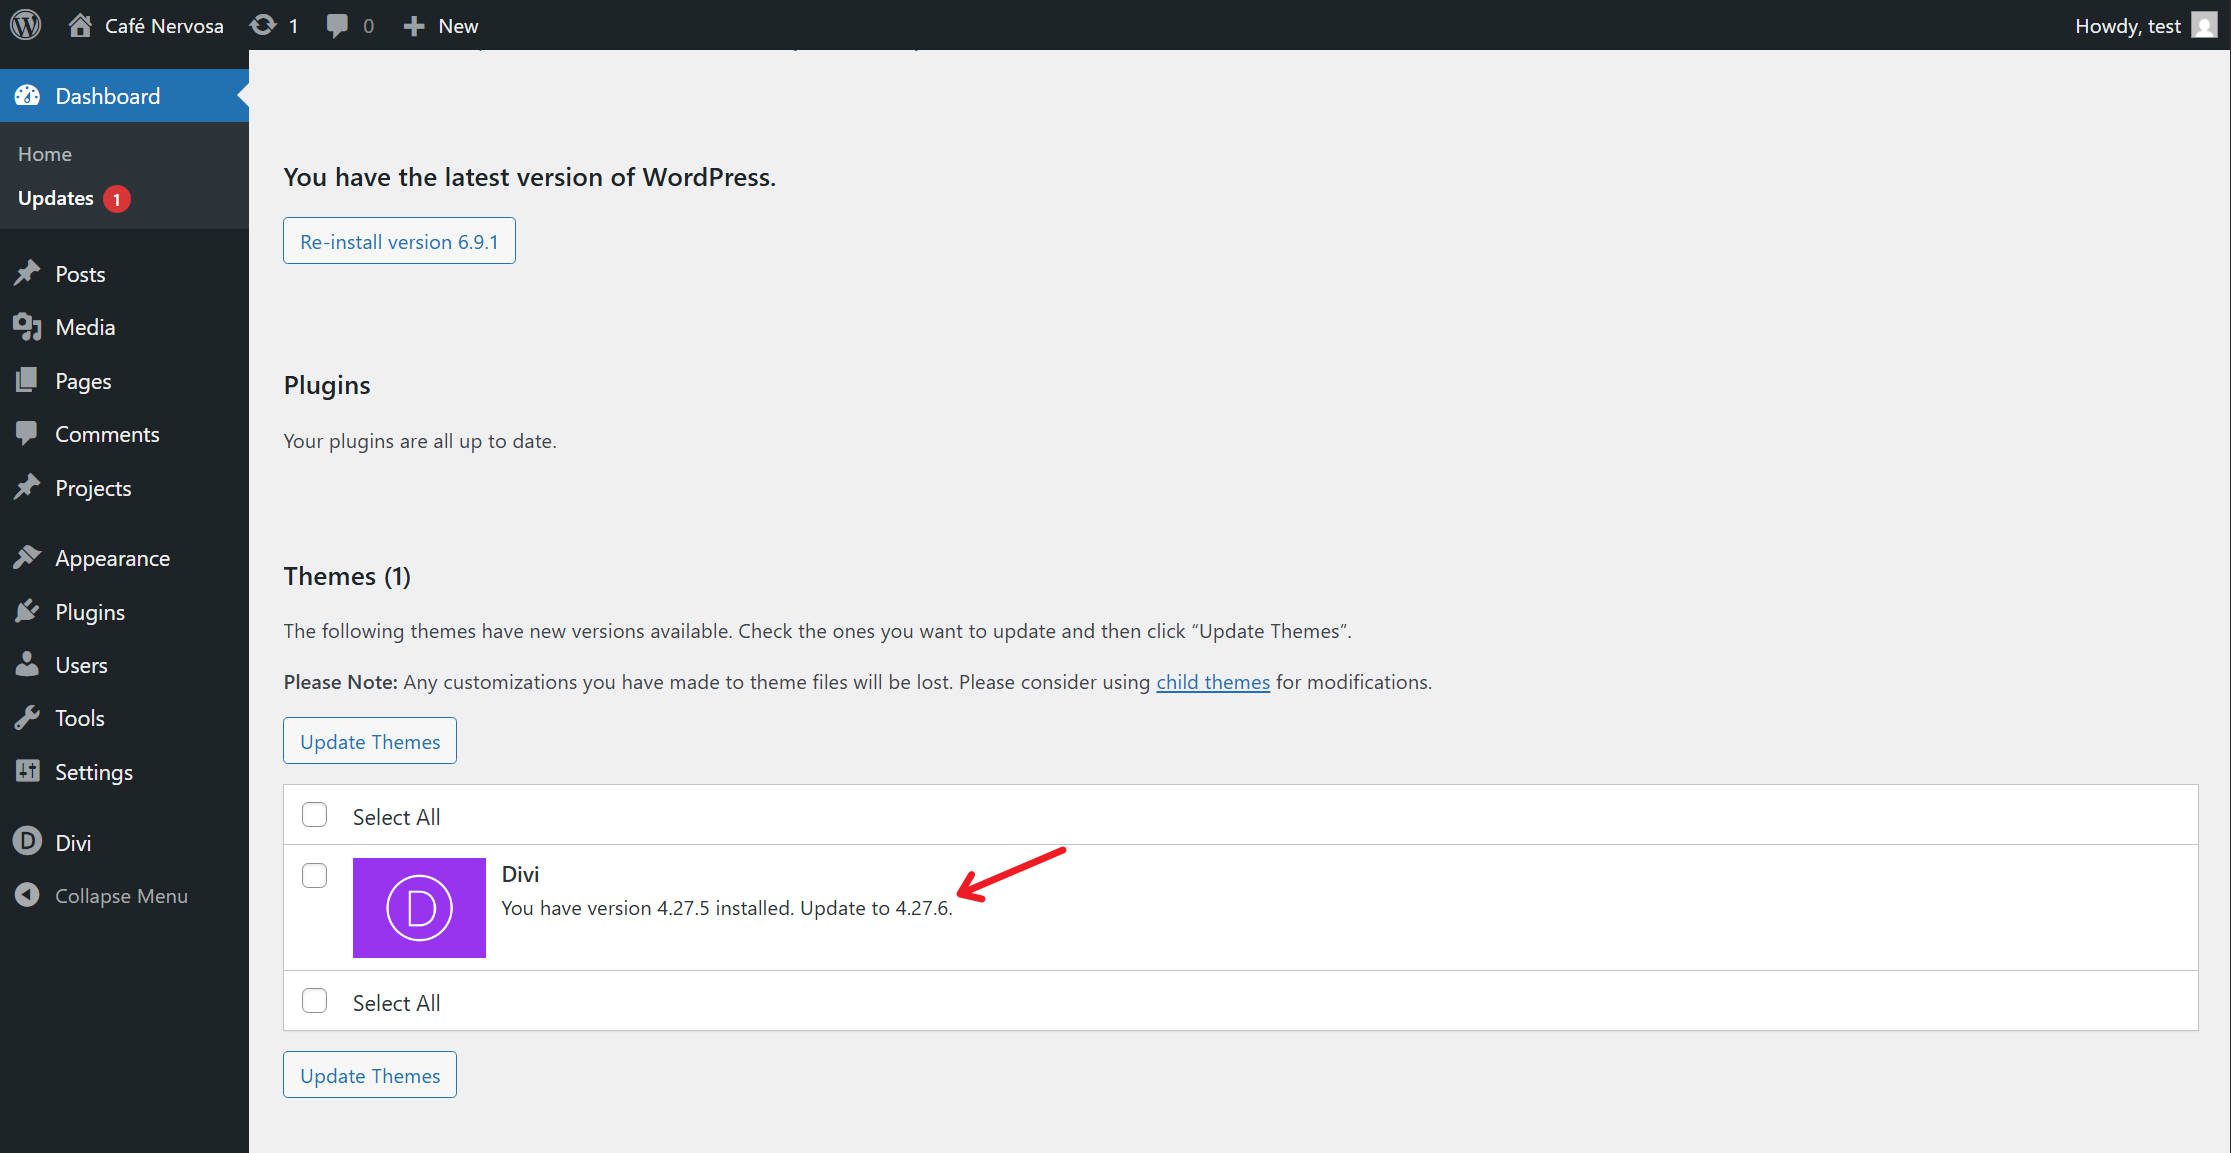
From there, go to the Divi Dashboard, where you can opt into the Divi 5 upgrade path. Doing so will show that another theme update is available, which will be the latest Divi 5 build. From there, update your theme to Divi 5.
Or, you can do things the more manual way and log in to your Elegant Themes member dashboard to download the latest Divi 5 release.
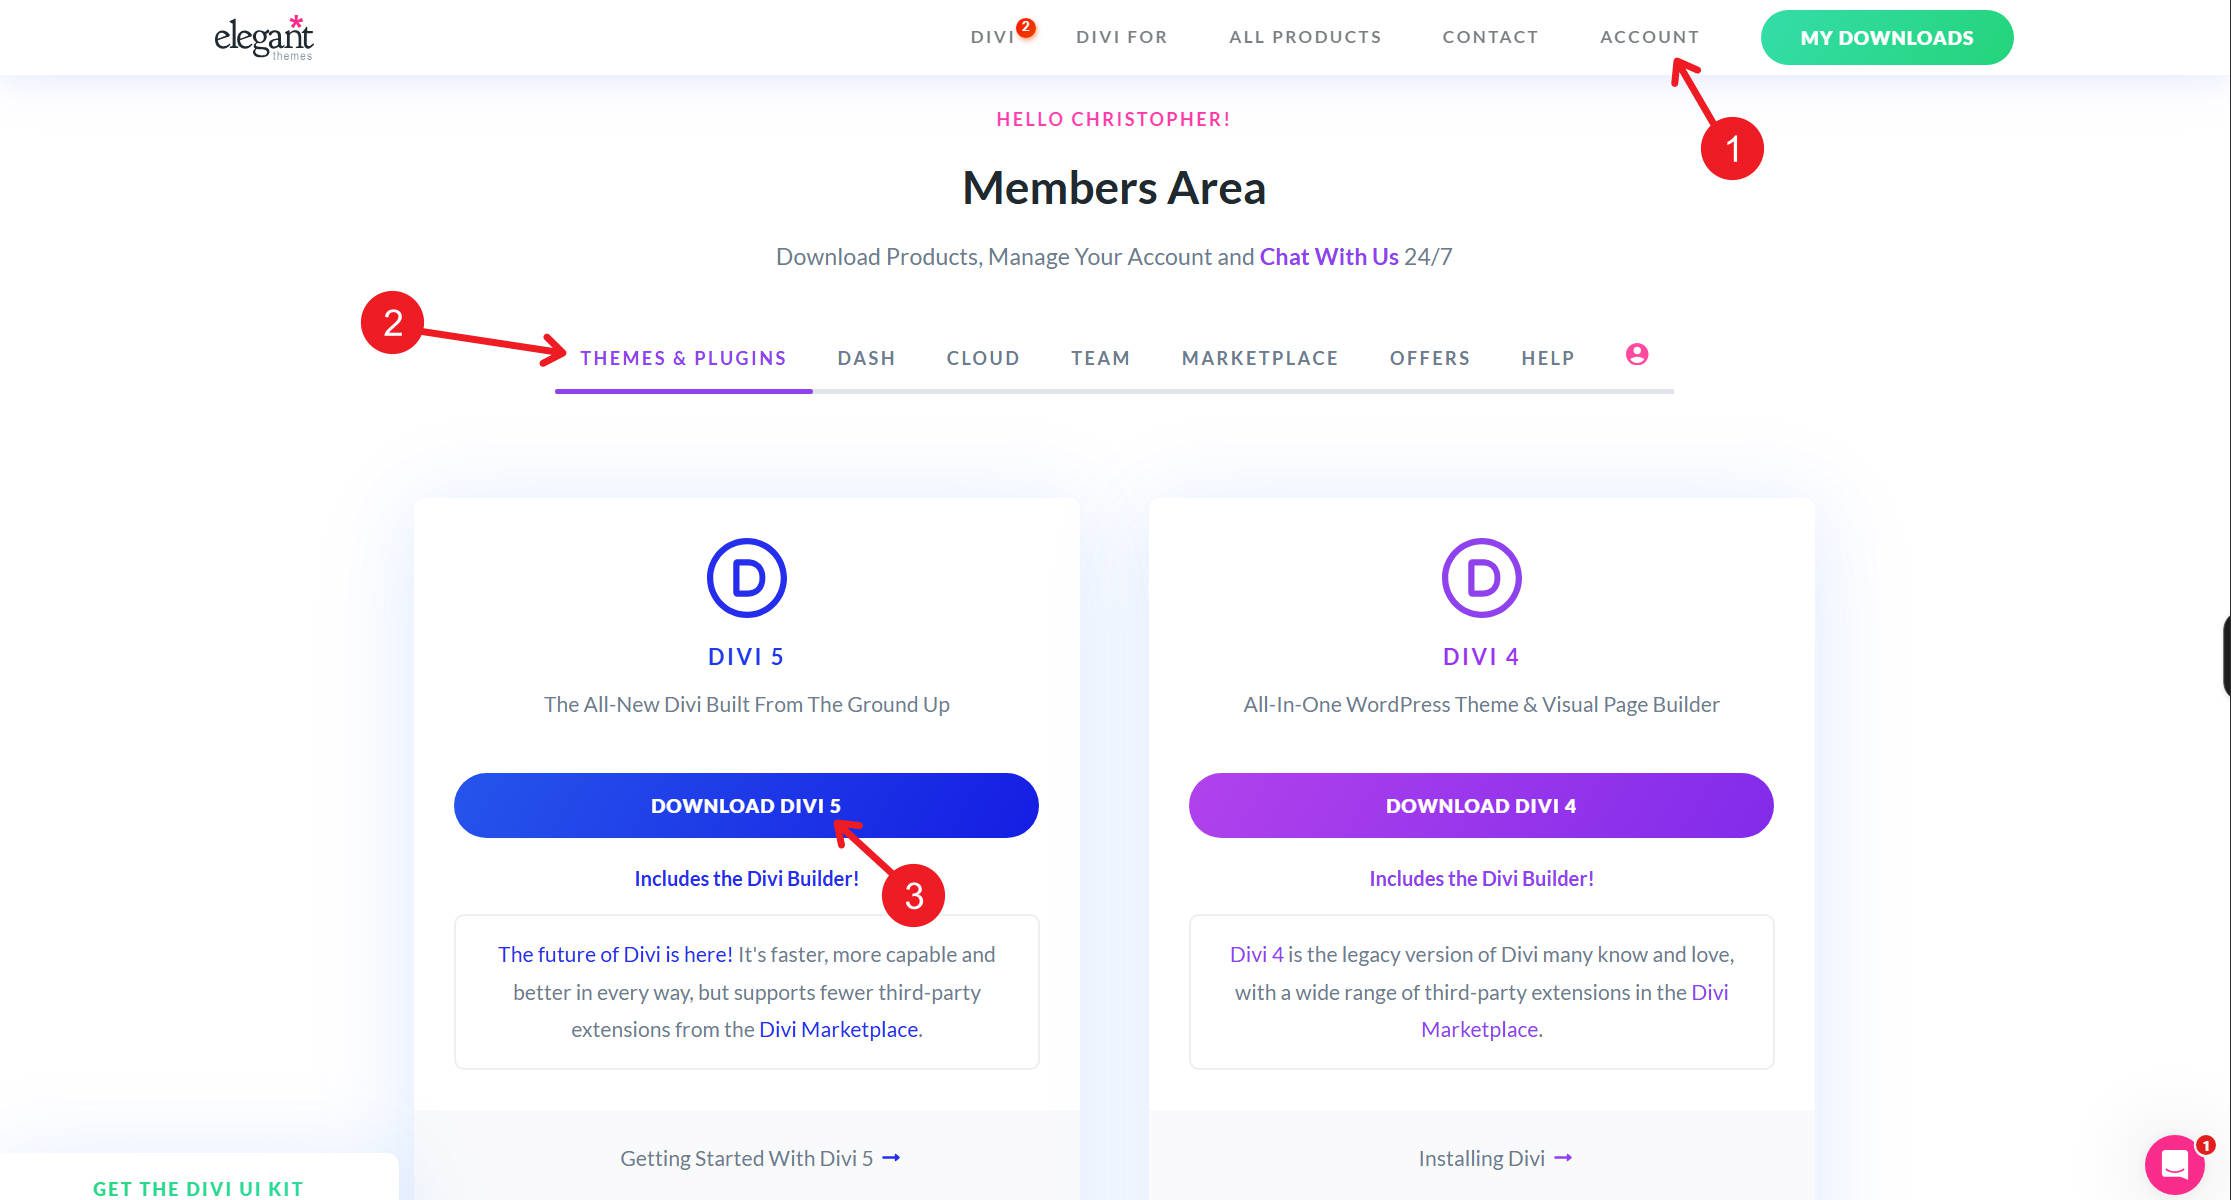
This is the same process if you are adding Divi to a site for the first time
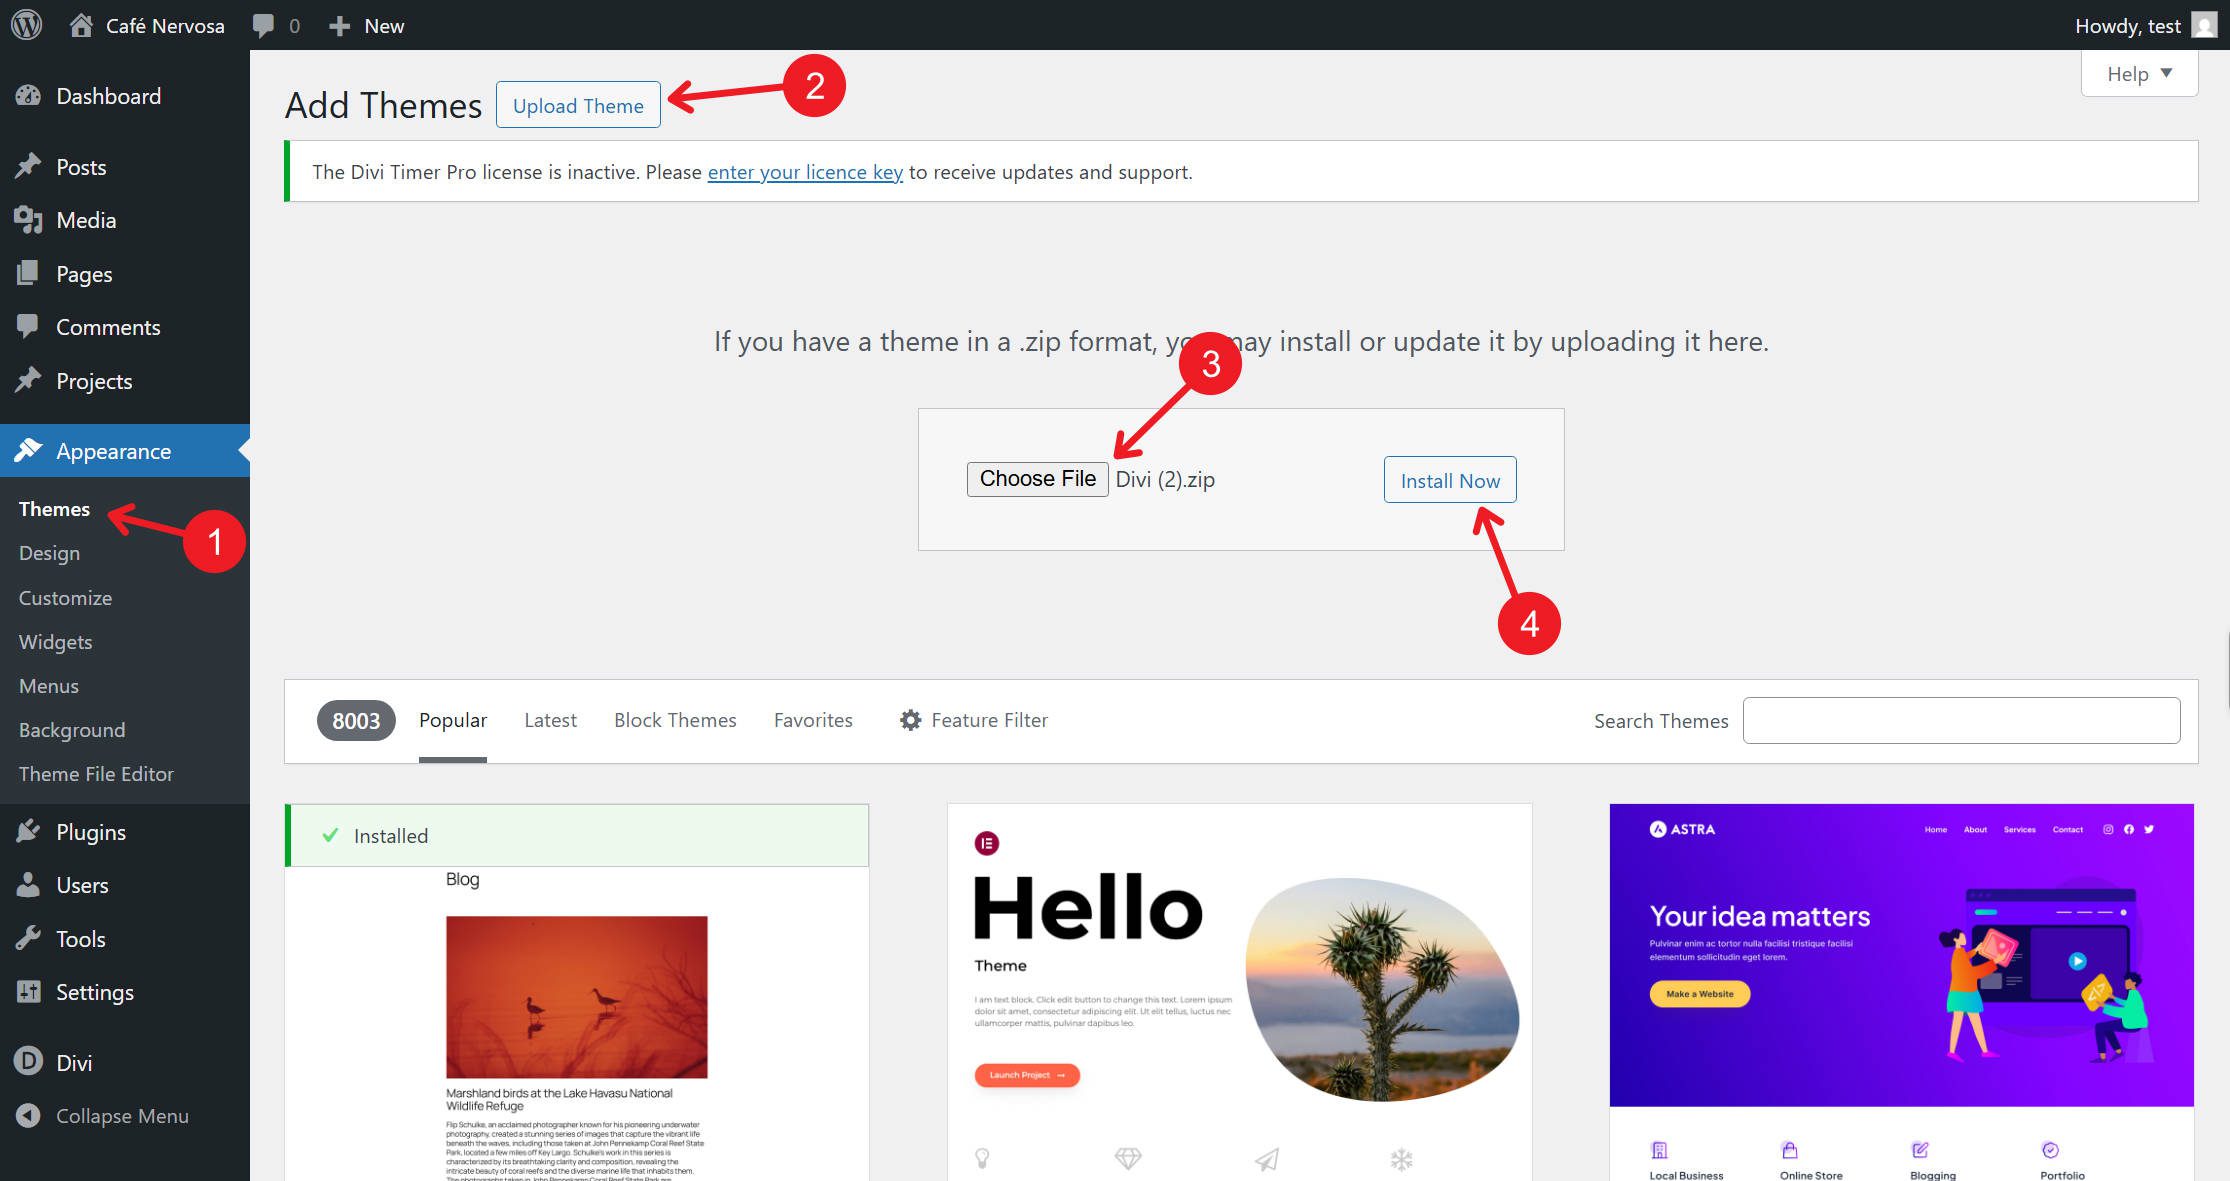
Then, in your WordPress dashboard (on your staging site), go to Appearance > Themes > Add New > Upload Theme and install the Divi 5 ZIP file.
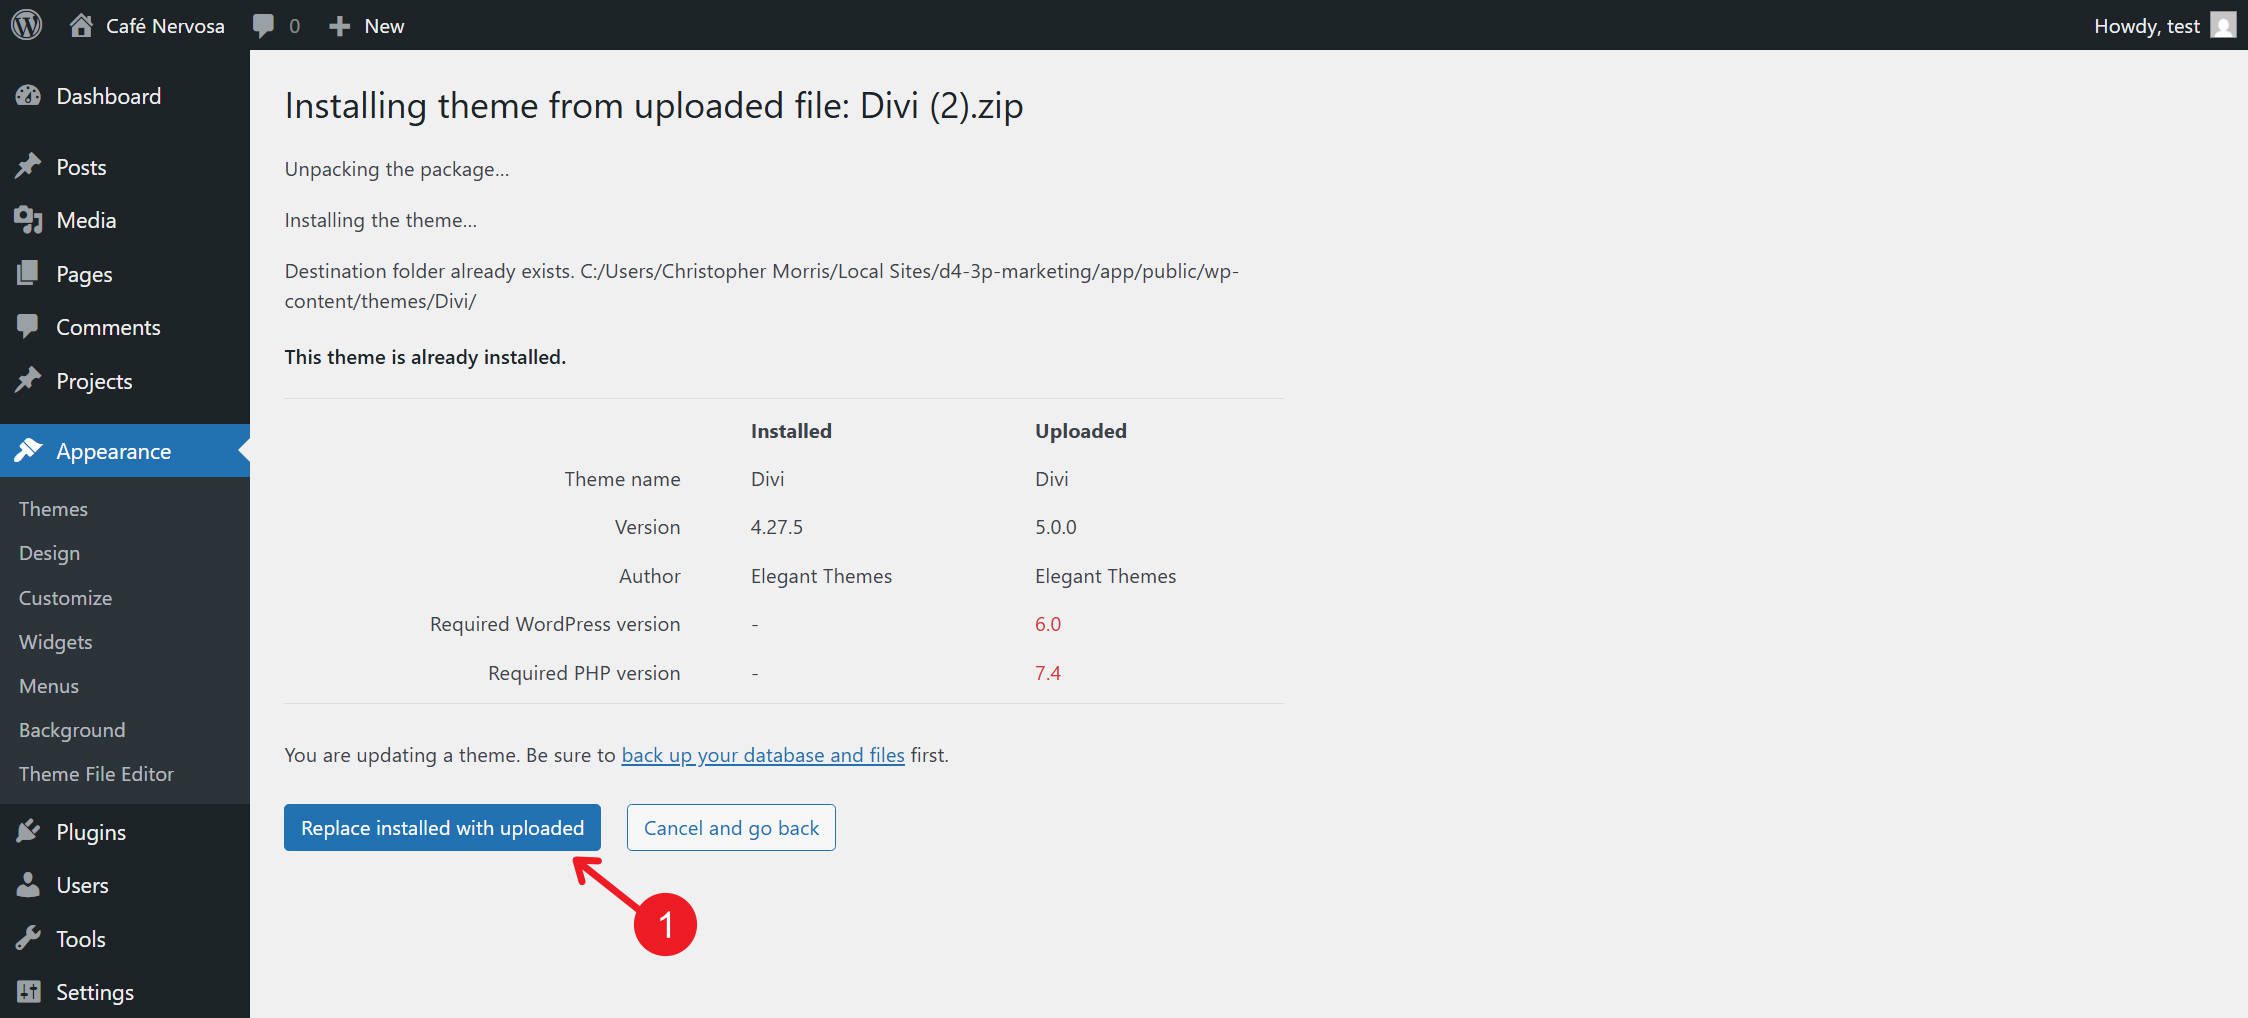
Activate the theme. Once Divi 5 is activated, you’ll be directed to the Divi 5 Migrator automatically.
Step 4: Run the Compatibility Check
The Divi 5 Migrator automatically performs a compatibility scan the first time you access it. Navigate to Divi > Divi 5 Migrator in your WordPress dashboard if you’re not already there.
The scan checks multiple areas of your site, including Pages, Posts, Custom Post Types, Theme Builder Templates, WooCommerce Products, Divi Library Items, Widgets, and Presets.
Each area in the report displays one of two indicators. A blue checkmark means the content is fully compatible and will convert to Divi 5 natively. An orange warning icon indicates that the content includes modules or features not yet fully supported — these items will run in backward-compatibility mode.
For any items flagged with warnings, the report identifies exactly which modules are causing the compatibility issue. Review this carefully. It gives you a clear picture of what will run natively in Divi 5 and what will fall back to the legacy framework. It will also show you which pages, if any, have the unsupported modules.
Step 5: Migrate
After reviewing the compatibility report, update any third-party extensions you use to their Divi 5-compatible versions, if those updates are already available. These will handle the migration of their own plugins and settings.
After that, go back to the compatibility report and click the Migrate This Site to Divi 5 button. A confirmation dialog will appear. Click Confirm to proceed.
The migration itself is fast. The migration process usually takes a few seconds, though larger sites may take a couple of minutes. Larger sites with extensive libraries of content may take a minute or two. During this time, the migrator converts every Divi-built page, post, and template — moving supported modules to the Divi 5 framework and wrapping unsupported modules in the backward-compatibility layer. This is typically a one-time process, so you won’t need to run it again for the same site.
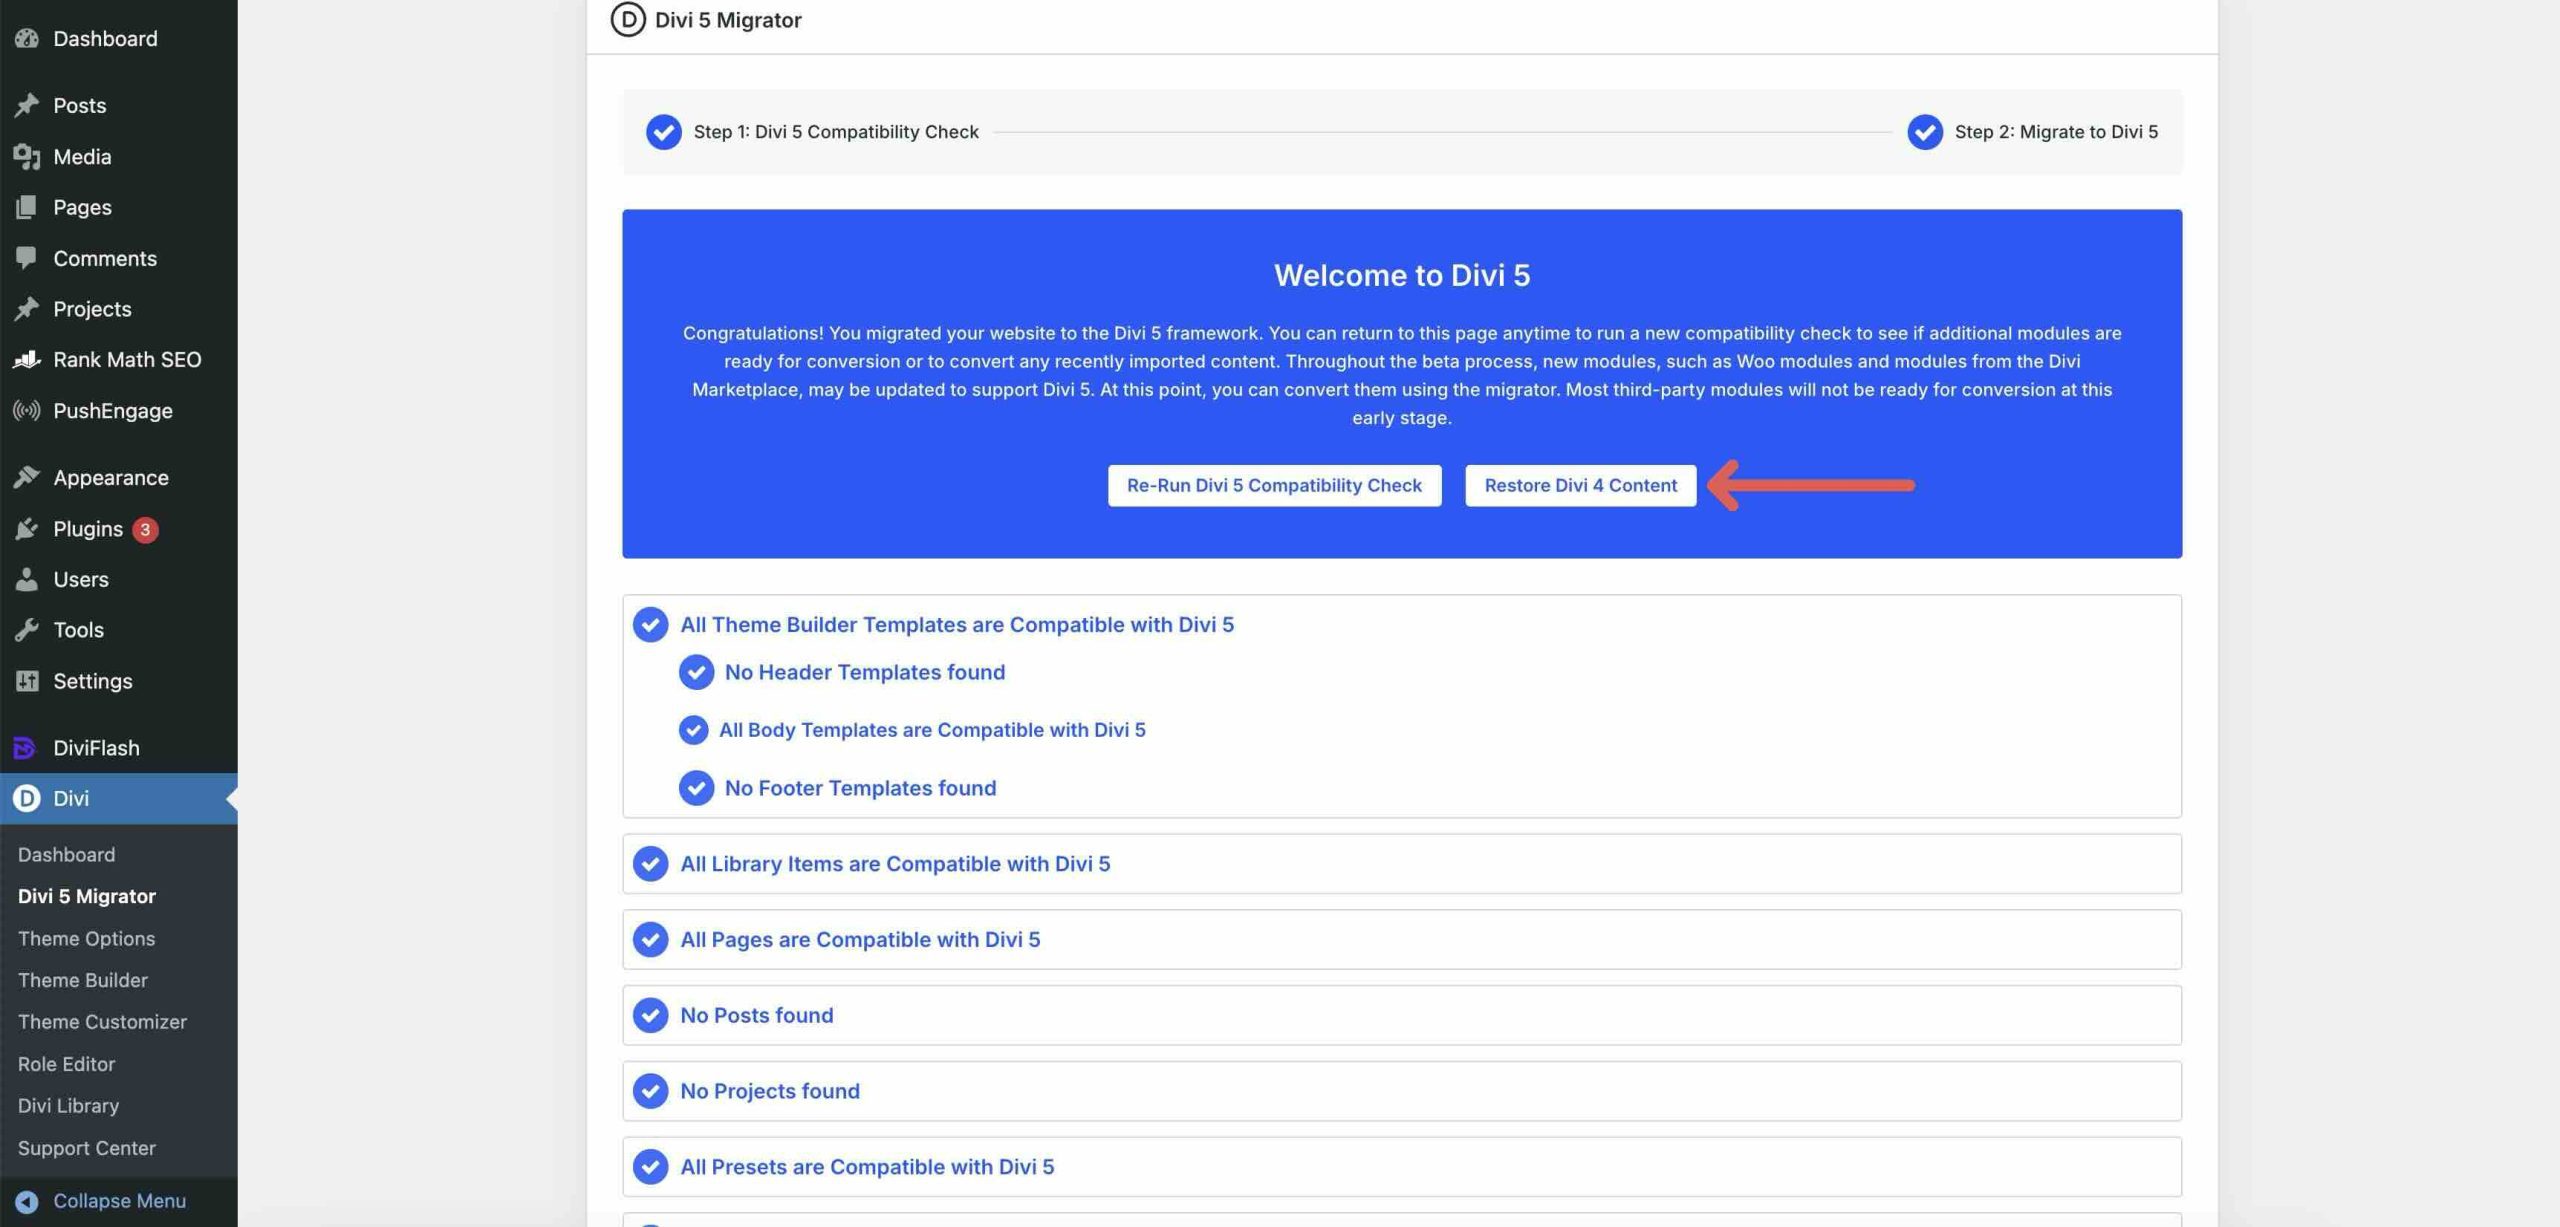
When the migration completes, you’ll see a “Welcome to Divi 5” confirmation screen. This screen may also include two additional options: a button to rerun the compatibility check (useful as third-party extensions release updates) and a button to restore Divi 4 content if you need to revert.

Understanding Backward Compatibility Mode
After migration, some pages on your site may display a small notice on the front end that reads “Backward Compatibility Mode Enabled”. This is informational, not an error. It means the page contains at least one legacy module still running on the Divi 4 framework, so Divi loads the legacy rendering system to keep that module working.
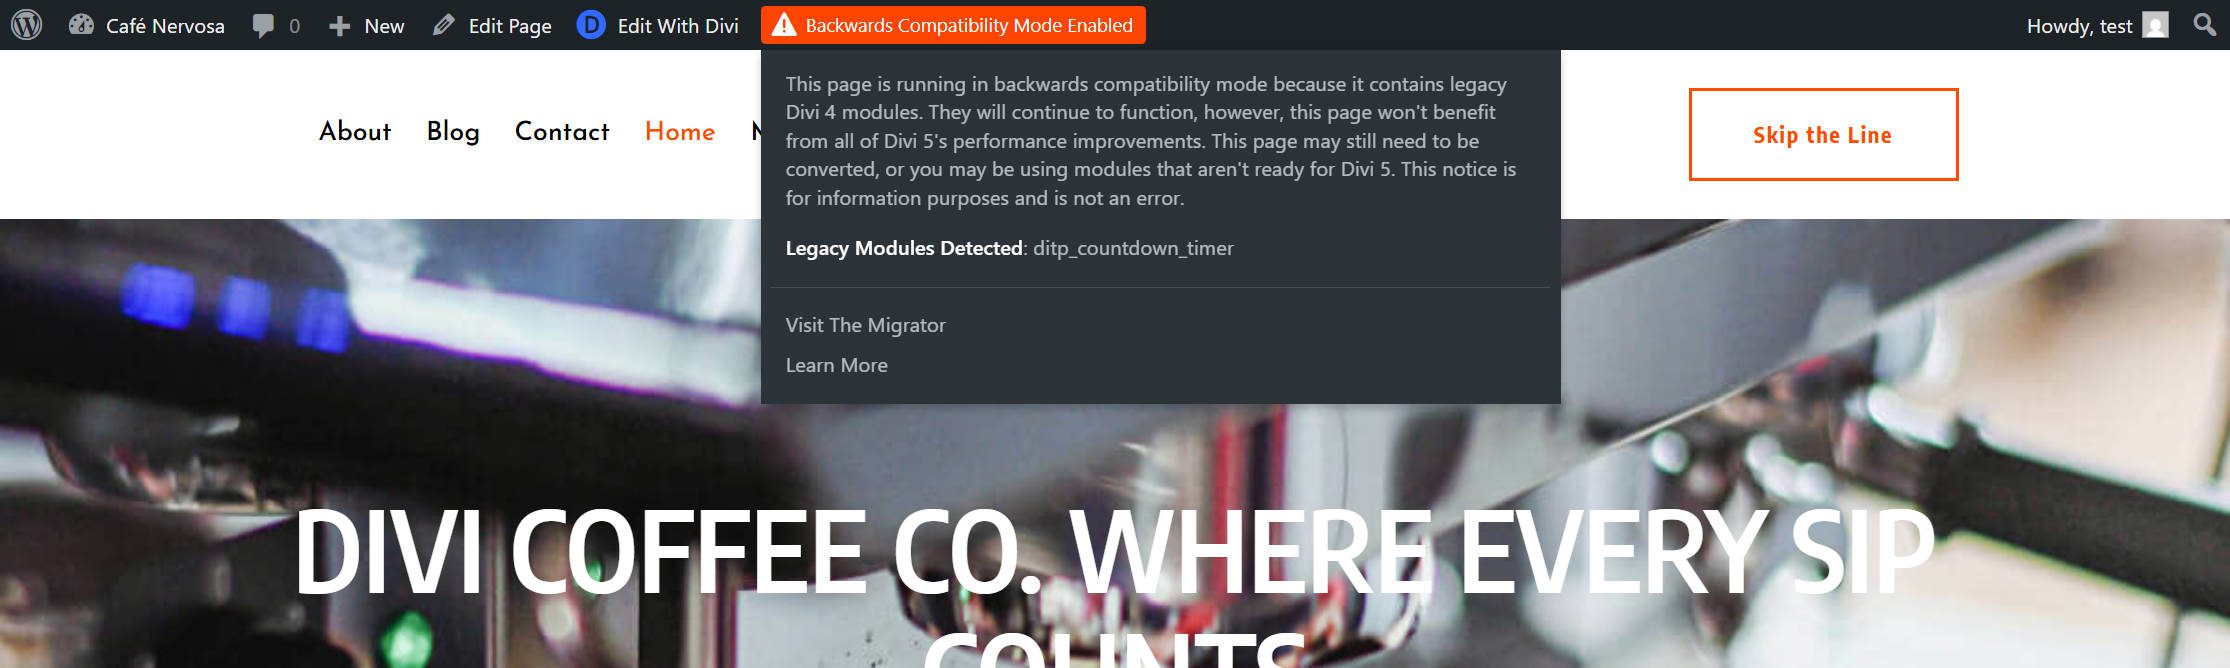
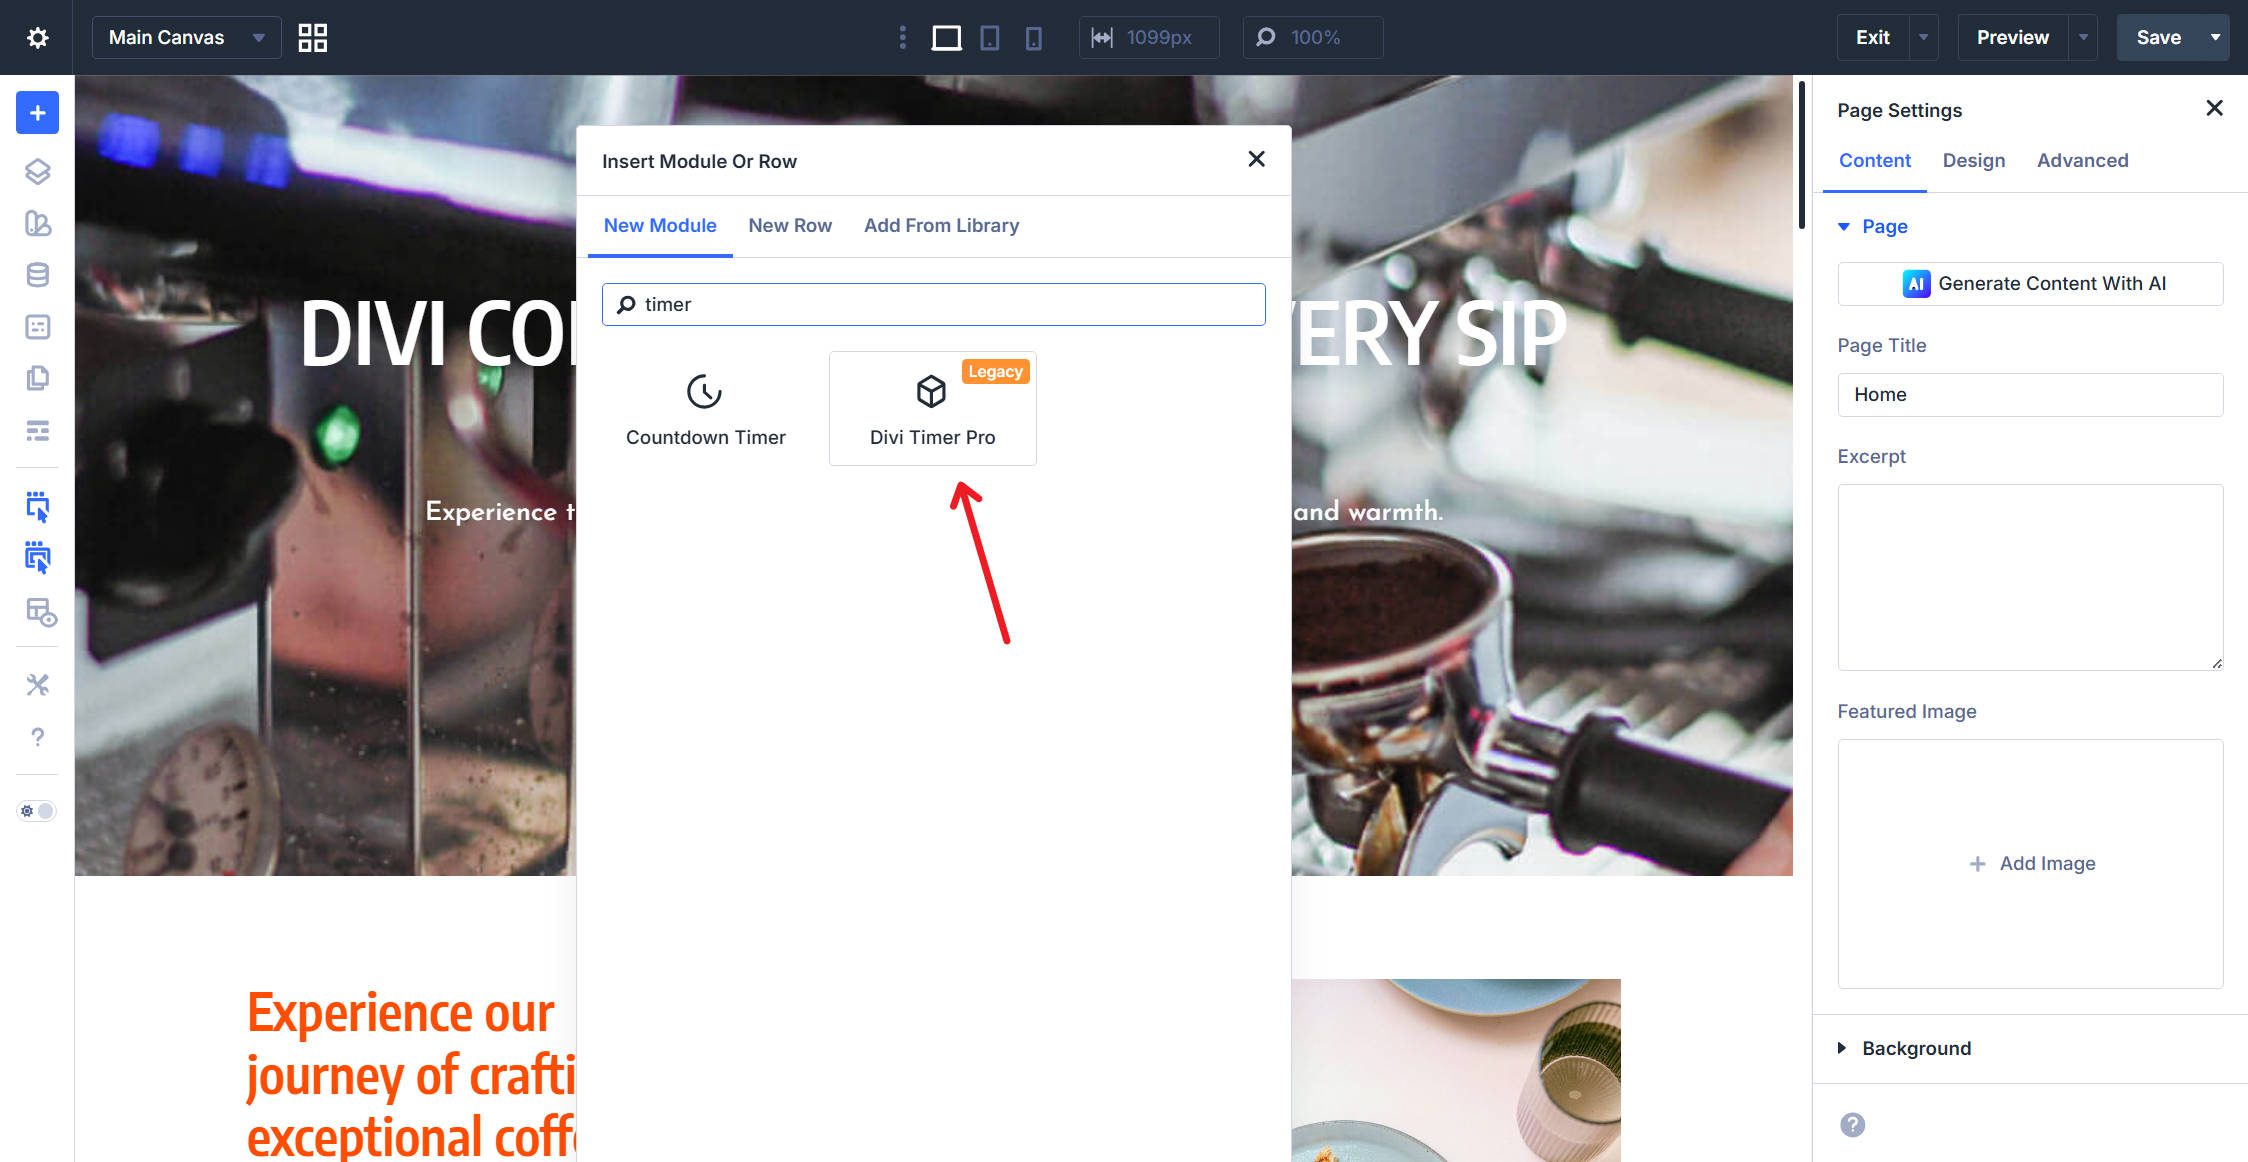
In Backward Compatibility Mode, legacy modules can still be displayed to visitors and opened in the builder. All styling remains intact. But the page loads the Divi 4 rendering engine alongside Divi 5, so it won’t benefit from Divi 5’s performance improvements until every module on that page is converted to Divi 5. Unsupported modules are still selectable in the Module Picker, but using them will keep the page in Backward Compatibility Mode until they are updated.
As third-party developers release Divi 5-compatible updates for their extensions, you can update those plugins, and the backward-compatibility notice should disappear once all legacy modules on the page have been updated or replaced. You can also proactively replace legacy third-party modules with Divi 5-native alternatives where available.
Pages that contain only Divi 5-native modules run entirely on the new framework with full performance benefits.
Post-Migration Testing
After migration, verify key pages to ensure everything is functioning as expected.
Check your highest-traffic pages first. Load several of them on the front end and compare how they look to how they looked before migration. Look for layout shifts, missing content, broken styling, or functionality issues.
Check Theme Builder templates. Headers, footers, and custom post type templates all go through the migration process. Confirm they display and function correctly.
Check WooCommerce pages if you’re running an online store. Product pages, cart, checkout, and account pages should all be verified.
Check forms, menus, and interactive elements. Contact forms, navigation menus, conditional displays, and any JavaScript-dependent functionality should be tested on both desktop and mobile.
If you find issues on your staging site, document them and consider whether they’re blockers. Some may be quick fixes you can do directly in Divi 5. For other issues, you may want to wait for a plugin update. This is exactly why staging exists — you identify and solve these problems without affecting your live site.
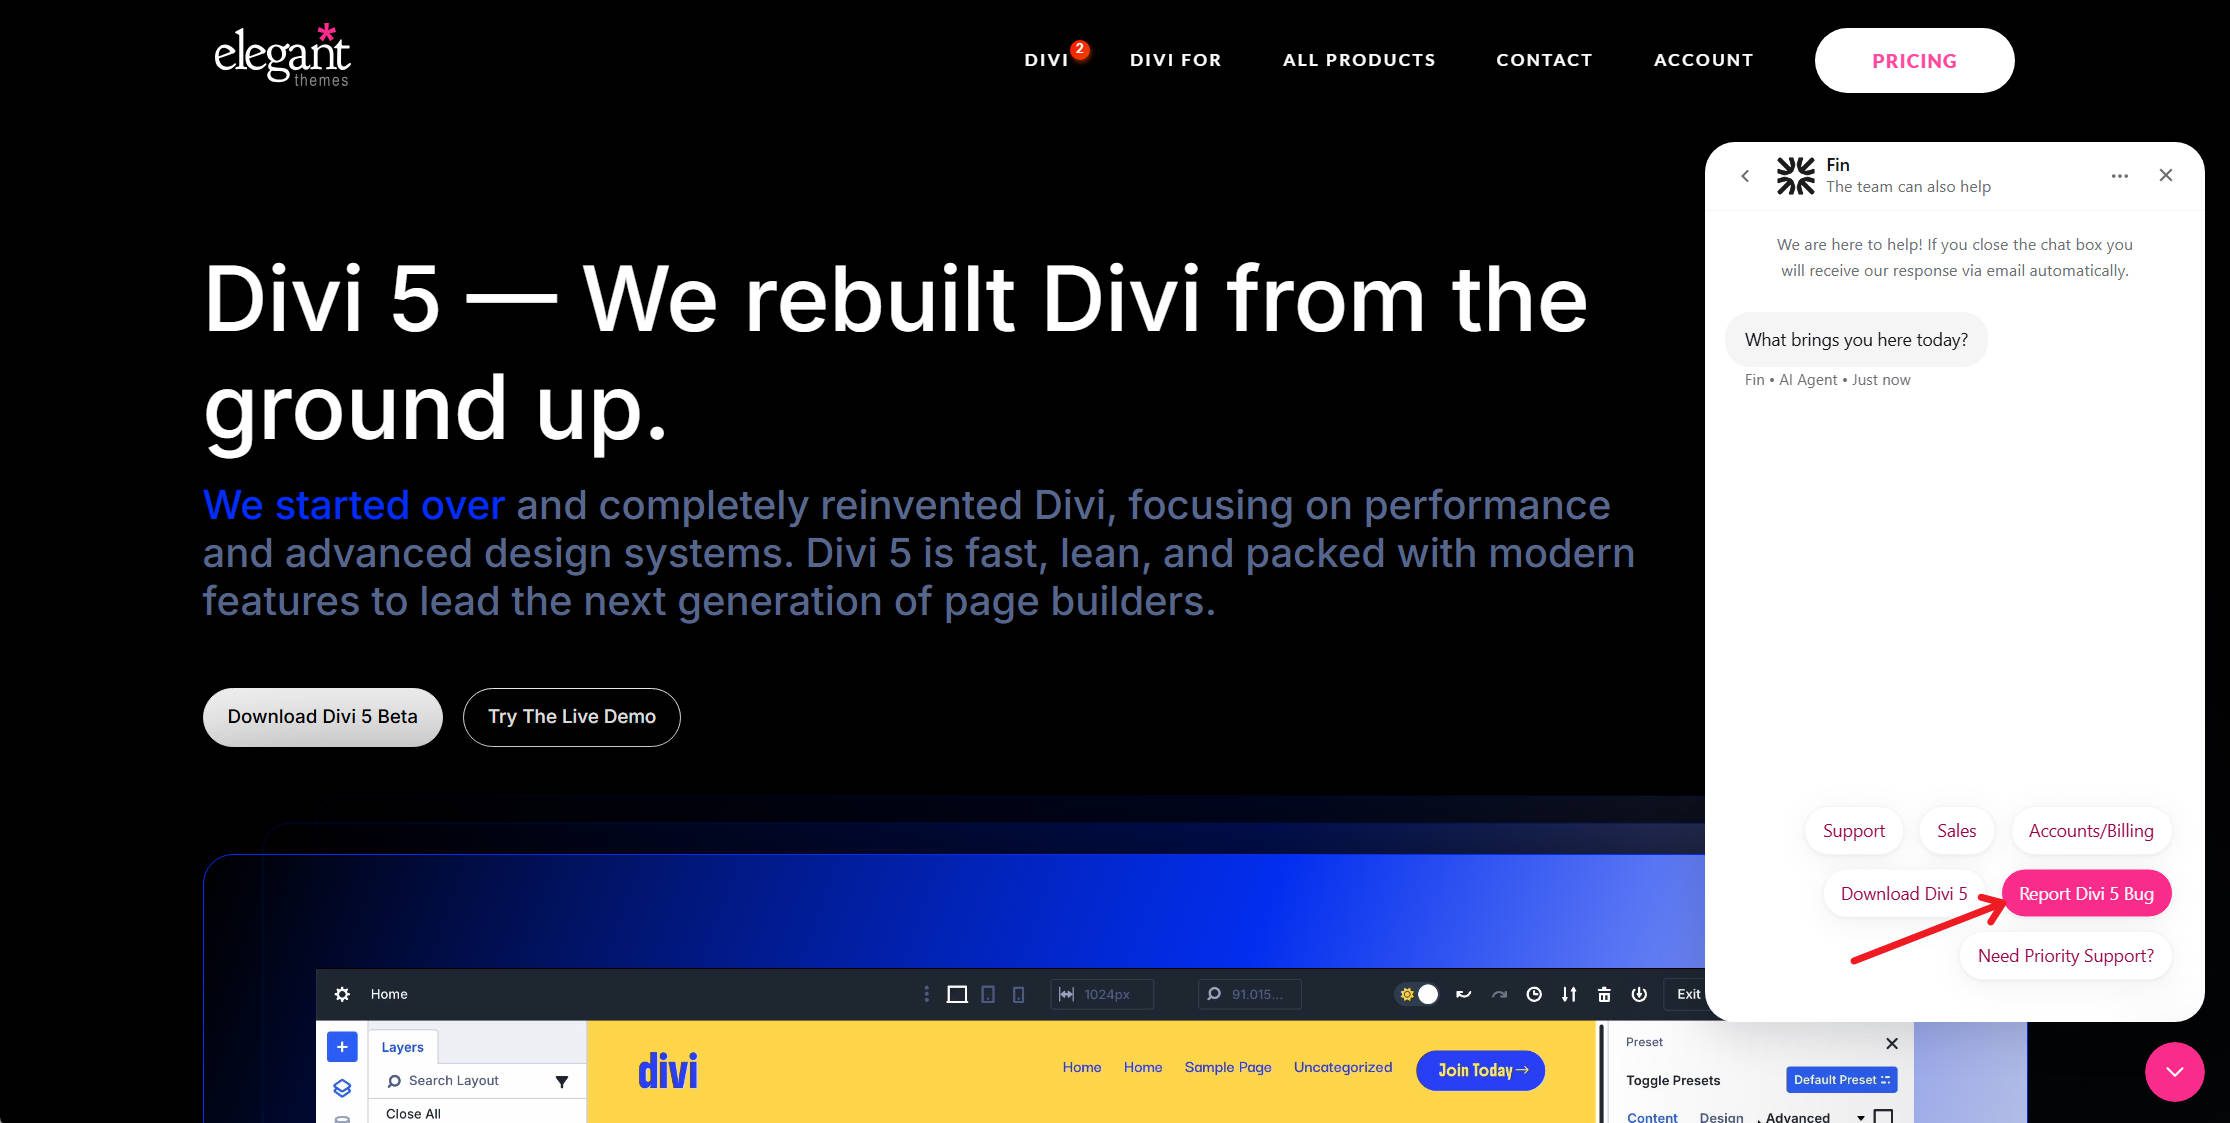
If you run into migration issues with native Divi modules, please report them so the migration system can continue to improve.
Going Live
Once your staging site passes testing, push staging to production. Most hosting providers that offer staging also offer a one-click push to make your staging site live. This is the cleanest approach because it replaces your production site with the fully tested, migrated version.
If Something Goes Wrong
The Divi 5 Migrator includes a built-in restore option that keeps a copy of your Divi 4 content. If you encounter problems after migration, click Restore Divi 4 Content on the Migrator screen to restore your pre-migration Divi 4 content. After restoring your content, you can roll back or reinstall Divi 4 to return fully to the Divi 4 update path.
If the restore option doesn’t resolve the issue, using a disposable staging site or your full site backup from Step 1 will help you get back to your working Divi 4 build.
We are actively working through migration-related bug reports as they come in. There may still be edge cases where a migration results in small issues. If you encounter a specific issue during testing on staging, report it and see if you can fix it from the Divi 5 side. If the fix is minor, it may be worth making the adjustment in Divi 5 rather than waiting for a future update. But that judgment is completely up to you. Problems that block you today may be resolved in the next dot release, as we ensure migration is not a roadblock.
Migrate Your Websites To Divi 5 Today!
Divi 5 is the most significant upgrade in Divi’s history. The migration process is designed to be safe, reversible, and thorough. Back up your site, test on staging, run the migrator, verify your pages, and go live. The performance gains, the new builder interface, and the expanded feature set are worth it.
And remember, other builders in recent memory didn’t give you a migration pathway. We’re so humbled by our dedicated users’ continued use that we made it a requirement for ourselves to ensure a migration system is in place. We hope that you can easily jump into Divi 5 and experience all the incredible progress we’ve been making.
The post How To Migrate From Divi 4 To Divi 5 (Complete Guide) appeared first on Elegant Themes Blog.
The Tech Zone


Comments
Post a Comment